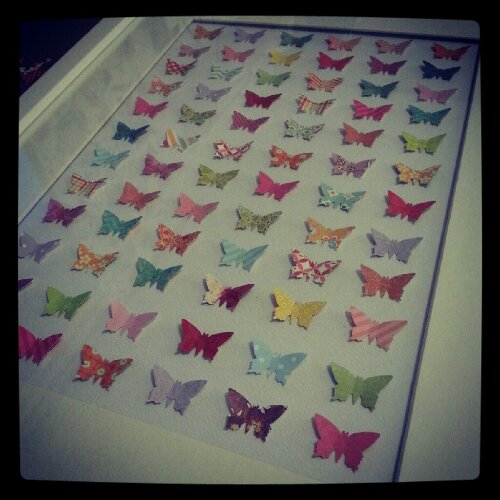
Butterfly wall decoration

imageLong time, no posts.. I haven’t created much lately, my inspiration went on a vacation in the beginning of this year and it still hasn’t returned. Maybe next year?

There might be a lack of time as well, the last weeks passed by with me working during the days, working out afterwards and trying to avoid being home alone too much since I’m a comfort/bored & alone eater.
Instead I have filled my spare time with shopping, a few running attempts and lots of rides with my bike. I also did some work to improve my tiny apartment. I will post something about this later on, right now I’m trying hard not to fall asleep. I’m completely exhausted from this evening’s physical activities (outdoor training with focus on legs)!

Last Sunday we got together to craft again, me, Malin and Jennie. Awesome as usual (especially the food, oh it was delicious!)
They both managed to scrap a lot (especially Malin, the turbo-scrapper!) and I managed to cut out 98 flowers and 80 butterflies. Yay for doing the same thing over and over again, yaay..  Anyway, inspired by a pin on pinterest, I made this butterfly picture and I must admit that I am very pleased about how it turned out. I think about summer when I look at it, and the best part is, I got to use Jennies stash (and my own of course).

By the way, go read about her new project:

I am considering accepting this challenge, I just have to.. uhm.. think about it again and, ehm.. extend my stash with stuff I can live without.. kinda.. but I do love the mustaches so.. I think I have to join her!
Theme 12: Rainbow

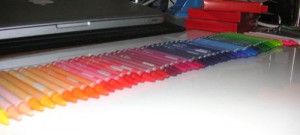
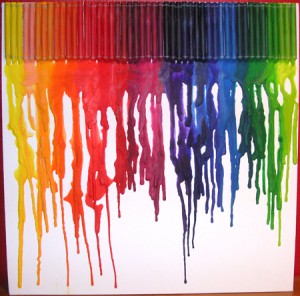
So I took some time and finished a project I’ve been preparing for for a few weeks. Finding somewhere to purchase crayola crayons is harder than you think so I ended up with another brand. Anyway, I stumbled upon this website and fell in love, I wanted to make one myself immediately! And here goes!

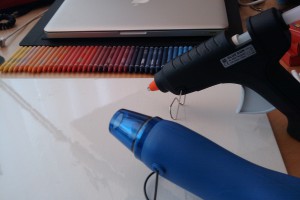
A few things needed: canvas, crayons, hot glue and a heating gun.

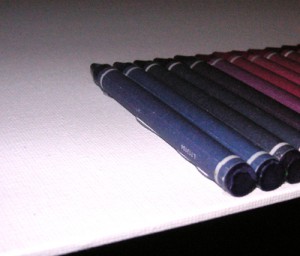
It’s a good start to figure out in which order you want the crayons/colors, I like rainbowish.

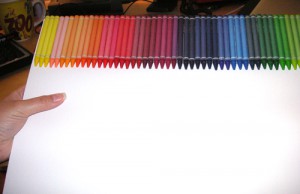
Start gluing the crayons on the canvas, be careful not to melt the crayons with the heat. I found it best to put the glue on the canvas and place the crayon on it instead.

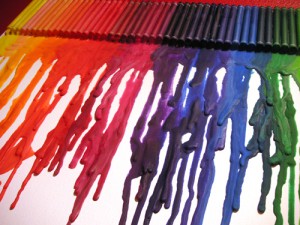
And this is what it looks like all glued to the canvas. Time to use the heating gun!

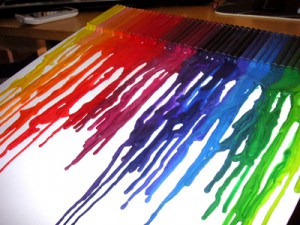
I started melting the crayons on the tips but I think I should have started further up or maybe used another set of crayons to melt and keep these for looks. It does look good with the tips there but it’s a little late for regrets now. Adjust the angle of the canvas after how long lines you want. The wax cools down quite fast but it’s possible to heat it up again if the lines are too short.

I’m quite satisfied with how it came out anyway, might be better next time tho!

All done! Now I just have to figure out how to put it on the wall, but that’s another story.

Theme 114: Cartoon

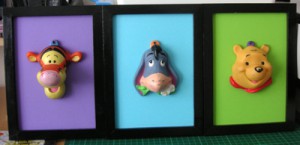
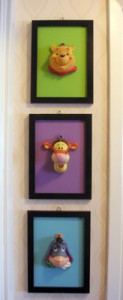
The first theme in the challenge is finished and it’s been in my mind for a few years now. I ordered the frames last year and painted them with a black glossy color and after that they’ve just been lying around waiting for me to find a proper background. Today I decided to finally finish the pictures and use different background colors for each figure. No more thinking and pondering, just doing!

I bought the figures at Disney World in Florida over ten years ago and for a few years they were used as decoration on my school bag (Pooh actually belongs to my brother and he used it as a bag decoration too) so they are a bit worn but it’s quite charming!

So, to get started I went through my scrapbooking papers and tried to find the best color. I recently ordered a big pack of plain papers in 20 different colors, very useful!
I found the papers, cut them to fit the frames and mounted them.

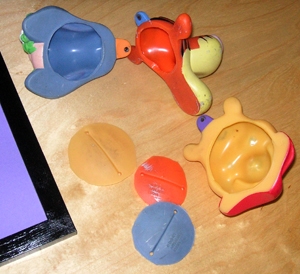
I cut out the back sides on the figures since they were bulging out and making it harder to mount them on the papers.

I used my glue gun and mounted the figures on the paper, had to add hangers to the frames as well but after that they were done!

And finally hanging on the wall!

It’s been a while…

So.. I’ve been quite quiet for a while now, mostly because of the photoshop course I had to finish. I put the rest of my life on hold and it took a while to get back on track again. Now it’s back to normal again and I have been working a bit with the DIY for the scarf and a new Christmas project!

It’s not finished yet but I’ll give you a sneak peak with some pictures of the process! I’m going to buy a few items for the project (and another one I’ve had in mind for a few years) later today! Yay!

I think I have to start working on my Christmas cards quite soon too and all the Christmas gifts. Christmas is the worst time of the year (I still love it tho), so much to do and so little time! I have a list of Christmas goodies I’m planning to make such as saffron buns (love love love), an awesome gingerbread house and some snacks! I might even try making my own truffle again, hopefully more successful than last year. I also plan to make my own Mozartkugeln. I just love them!
I think the list of Christmas cakes and candy will grow larger in the near future! Luckily I got a long weekend before Christmas Eve so I might actually have the time to do all this and more!

Anyway, here’s the promised sneak peak!

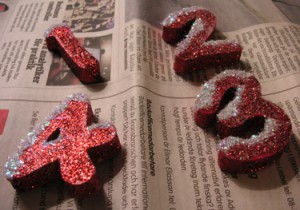
Started off with painting the numbers red.

Added some glitter…

..and some more glitter! Kinda looks like snow, doesn’t it?

Crafty Saturdays

So this Saturday was one of my favorite ones, the ones where Malin and I go crafting with Jen and Tricks and Trick’s sister. So far it’s only been us five but I joined this secret crafting club a few months ago. I think there are a few more ladies who use to join them but the two times I’ve been there they have had other plans.

I spent the first Saturday trying to understand my new sewing machine, a Singer Curvy 8763. After a few hours I managed to create one of the shopping bags I posted a while ago. I had other plans for the day such as making some jeweleries and maybe sew something else. I brought most of my pearls, lots of fabric and a pair of pants I never finished. I barely touched any of those things. I underestimated how time consuming things actually are and time just passed by.
You might think I learned something for our next meeting and brought less unneeded items?
Well, I kind of did but there were still a bit too much crafting to do than what the time would allow me to. I managed to create one item, a very awesome and epic item, but I was, of course, hoping to be a bit more time efficient.

Since the super awesome item is a gift for a friend, I won’t post it here until she has received it. And I have a few more things to finish before the gift is complete. It’s going to be the best gift ever! Or at least one of the best.

I’ll keep you updated!

Pimped cans

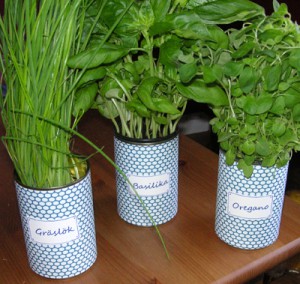
Panic! A party to attend and no pots for the fresh herbs I was going to give away with a nice pair of scissors. No time to go shopping, what to do?!

I looked around to see if I could find anything nice and useful to put the herbs in but I found nothing. I had an idea in the back of my head about using old cans as pots, not very fancy but functional. And if you want that kind of look in your kitchen? Knock yourself out! It’s trendy to re-use items nowadays too!

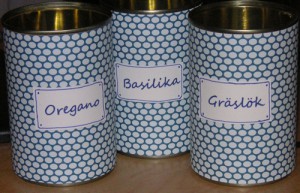
Soo, I put the plastic pots in the cans and they were a perfect match. I just couldn’t find a better pot with almost no time! I decided to use some of my scrapbooking papers I barely use.

.

The result wasn’t too bad to be honest! I was satisfied enough to be unbearable, and happy to have the gift ready.

As my handwriting is horrible I looked for a nice font and printed the text on thick paper, cut out the text and filled it out with a pen and decorated the labels.

Easily done in almost no time!

I might just pimp some more cans for myself with colors that match my kitchen, we’ll see.