Random experiments with foil, different adhesives and mediums. A post originally for Pyssloteket, you can find the original here (in Swedish).


Random experiments with foil, different adhesives and mediums. A post originally for Pyssloteket, you can find the original here (in Swedish).
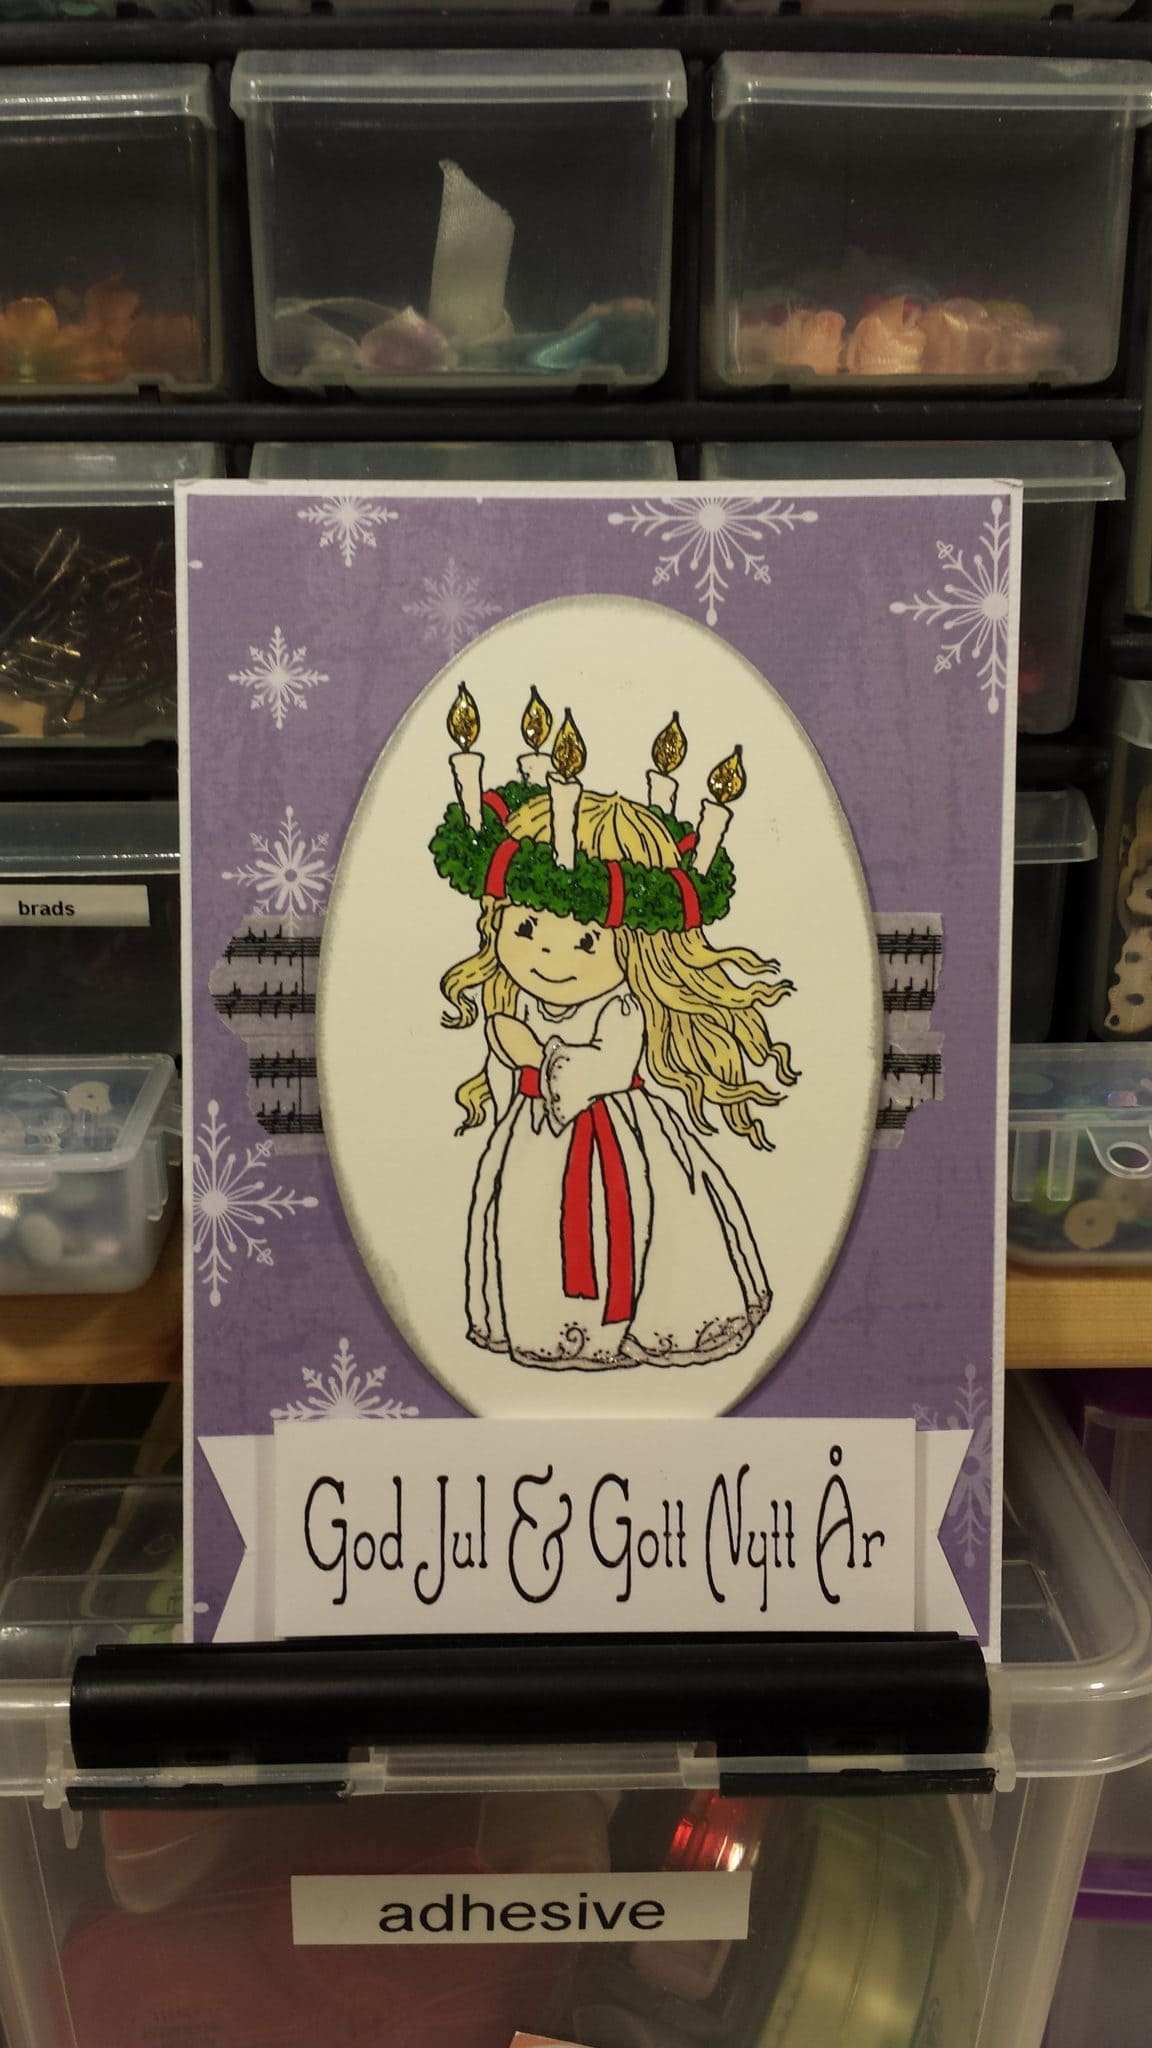
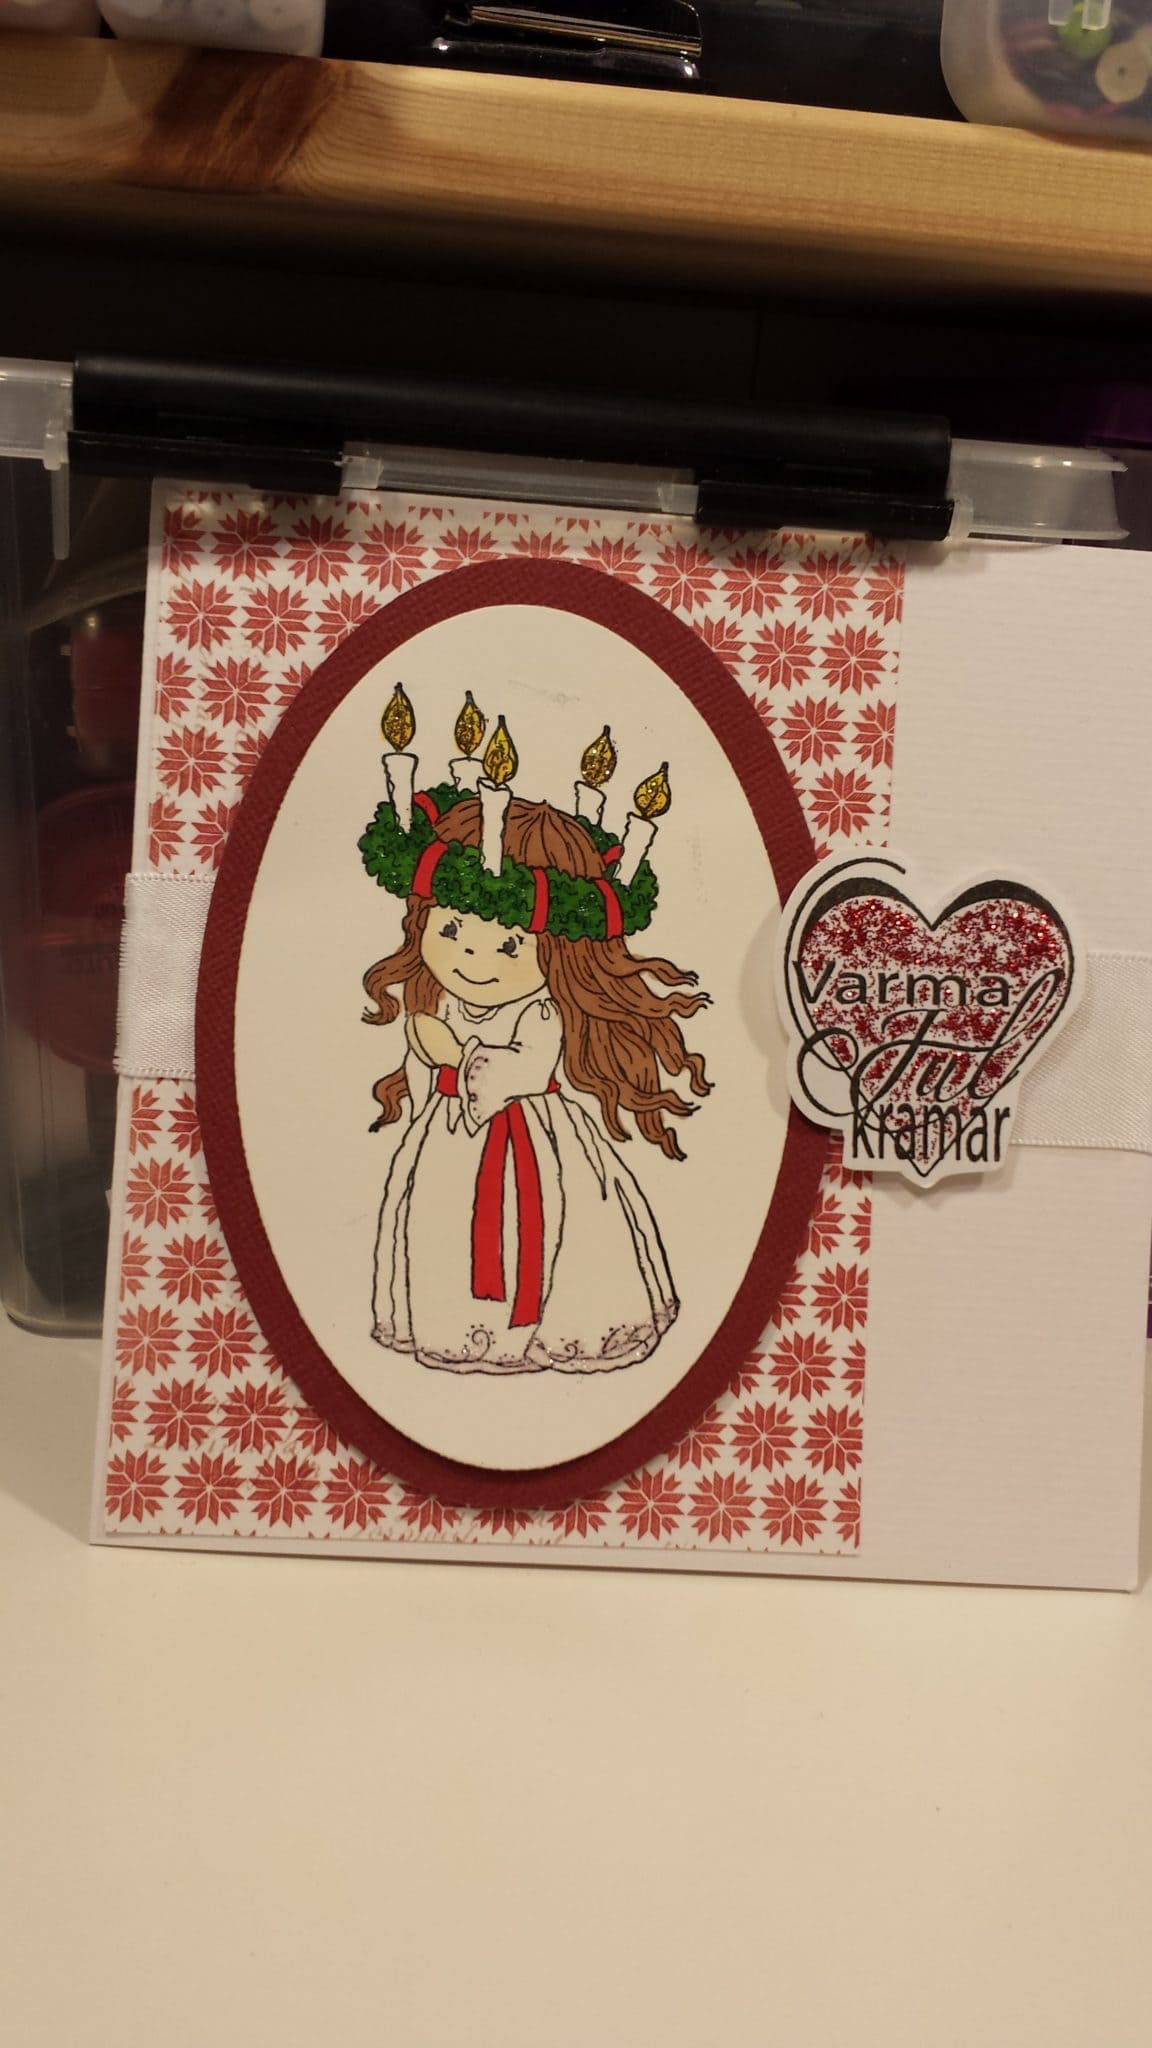
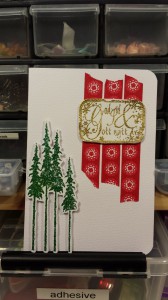
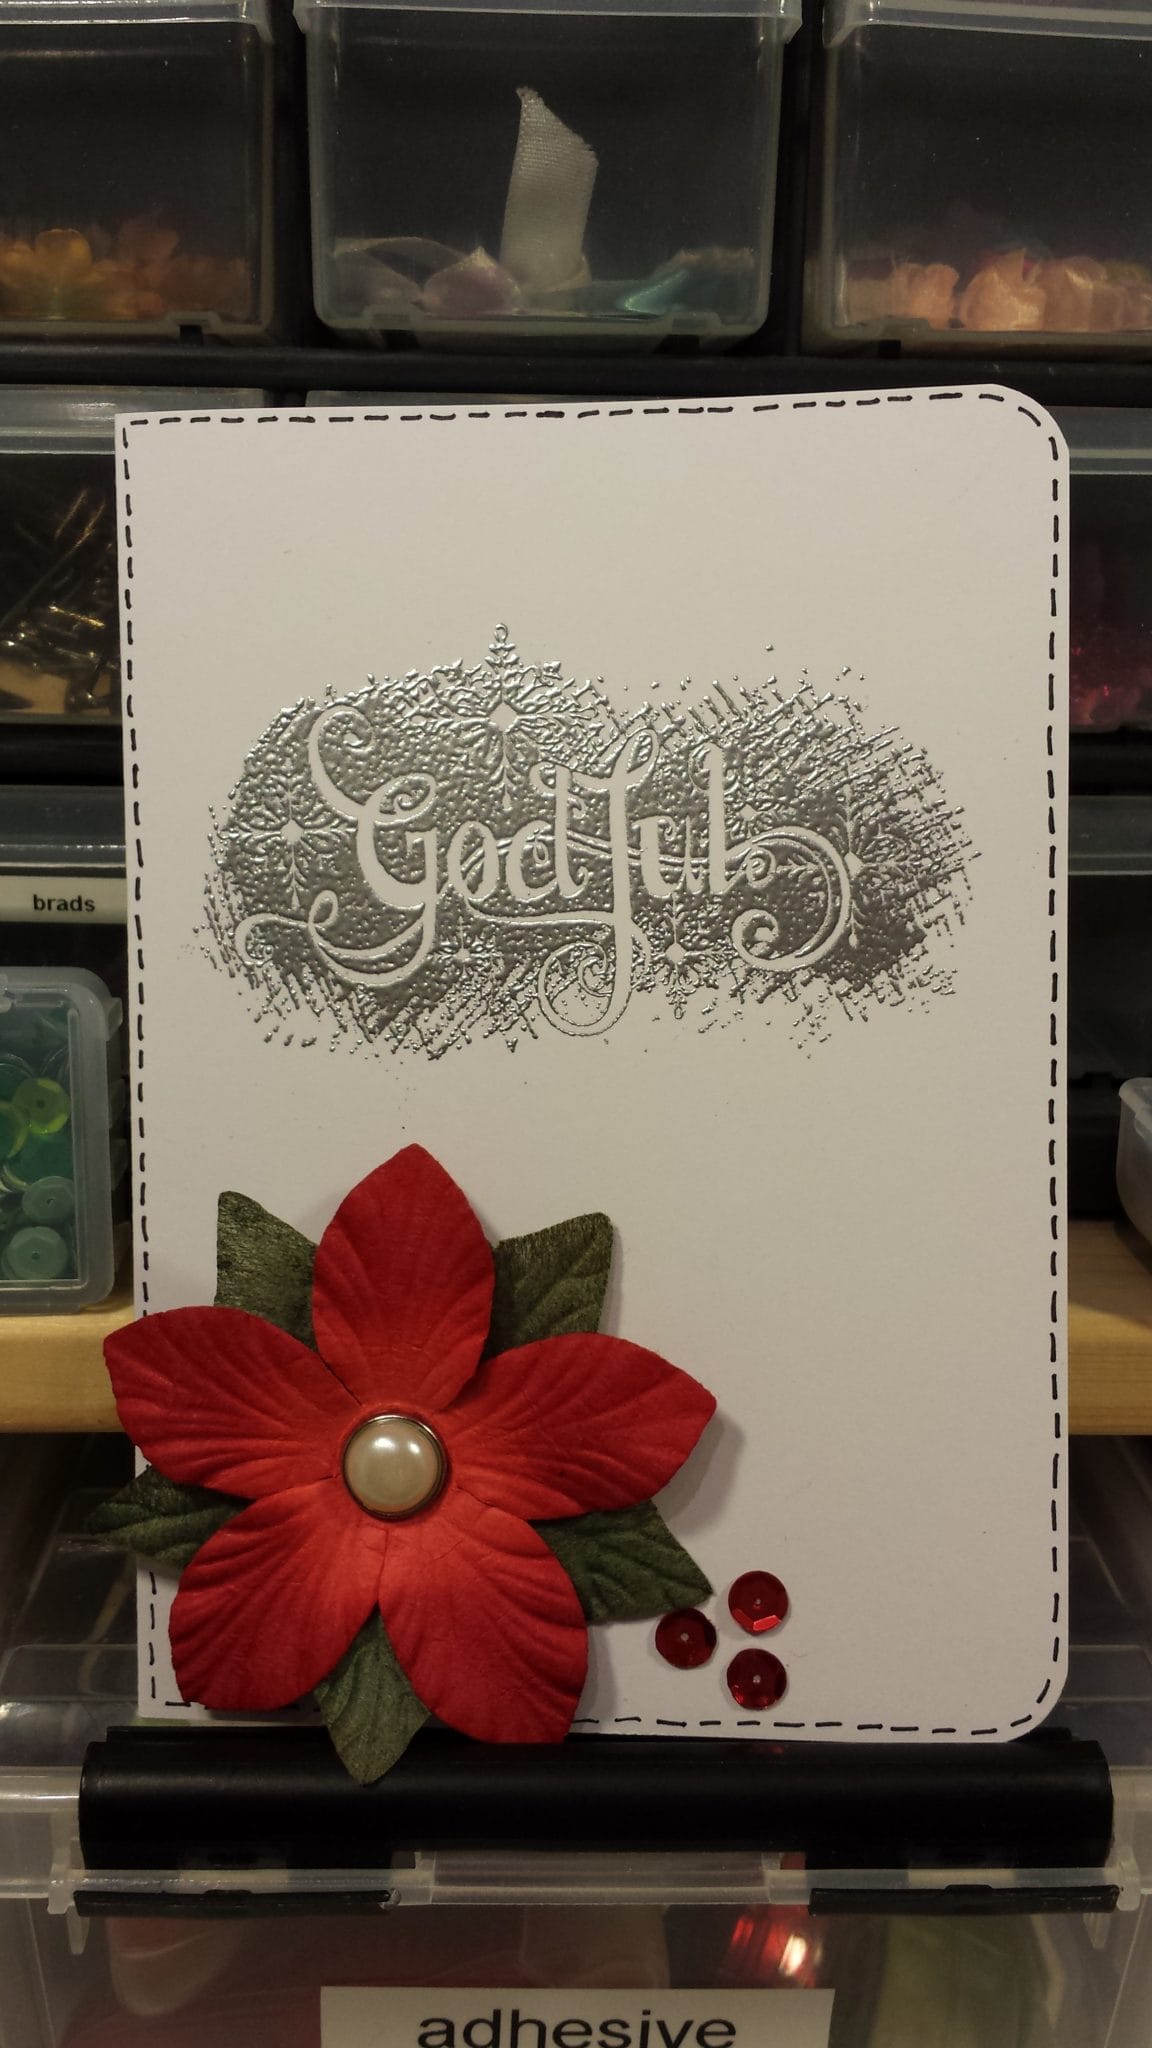
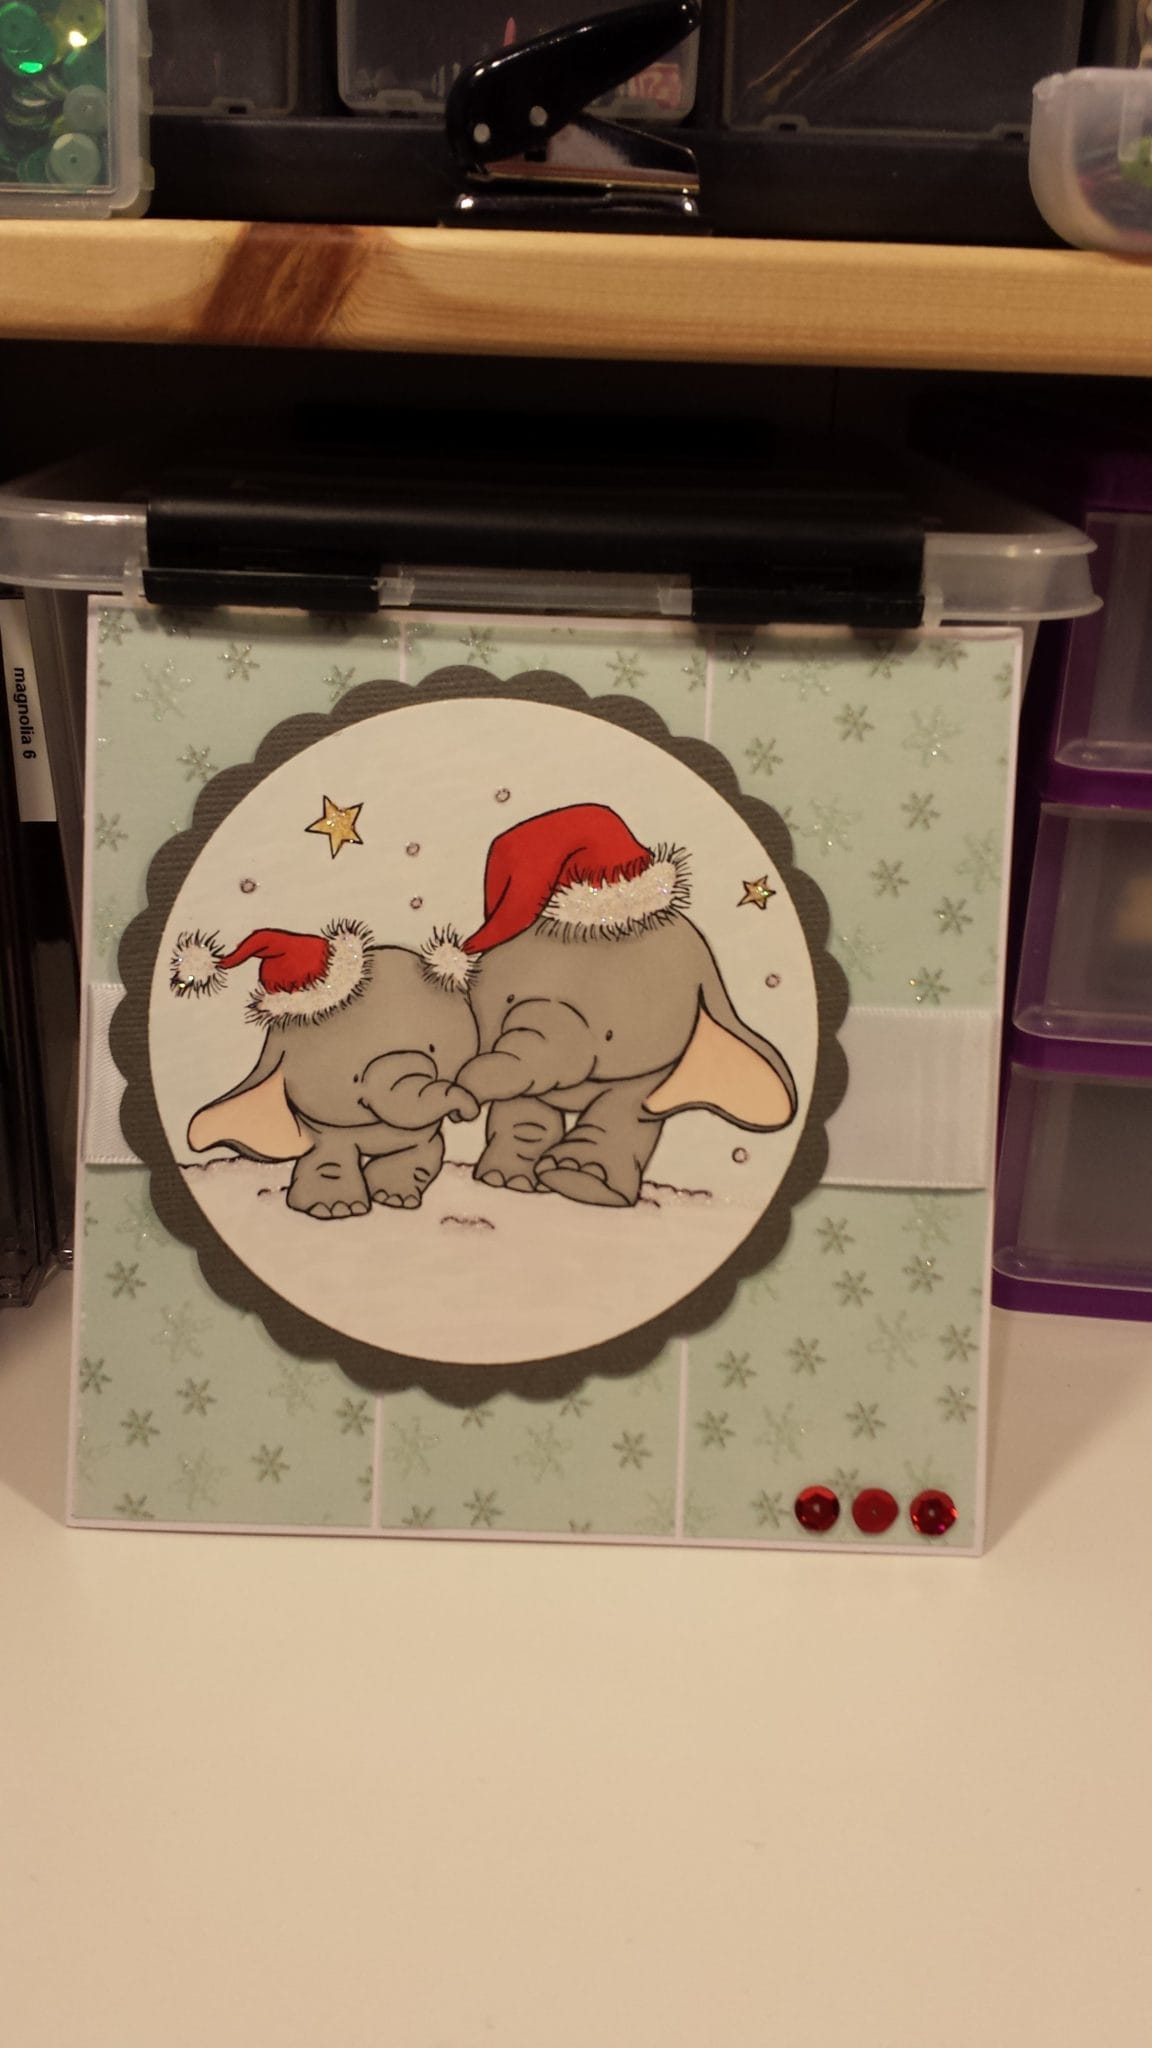
So I finally managed to finish my cards for this Christmas, they are supposed to be mailed tomorrow at latest but I might just do that on Tuesday instead, depends on how much time I have tomorrow since I didn’t manage to write the addresses.
I’m going to make this post a quick one as I’m really tired after this weekend filled with candy and card making among other things.
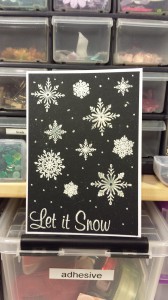
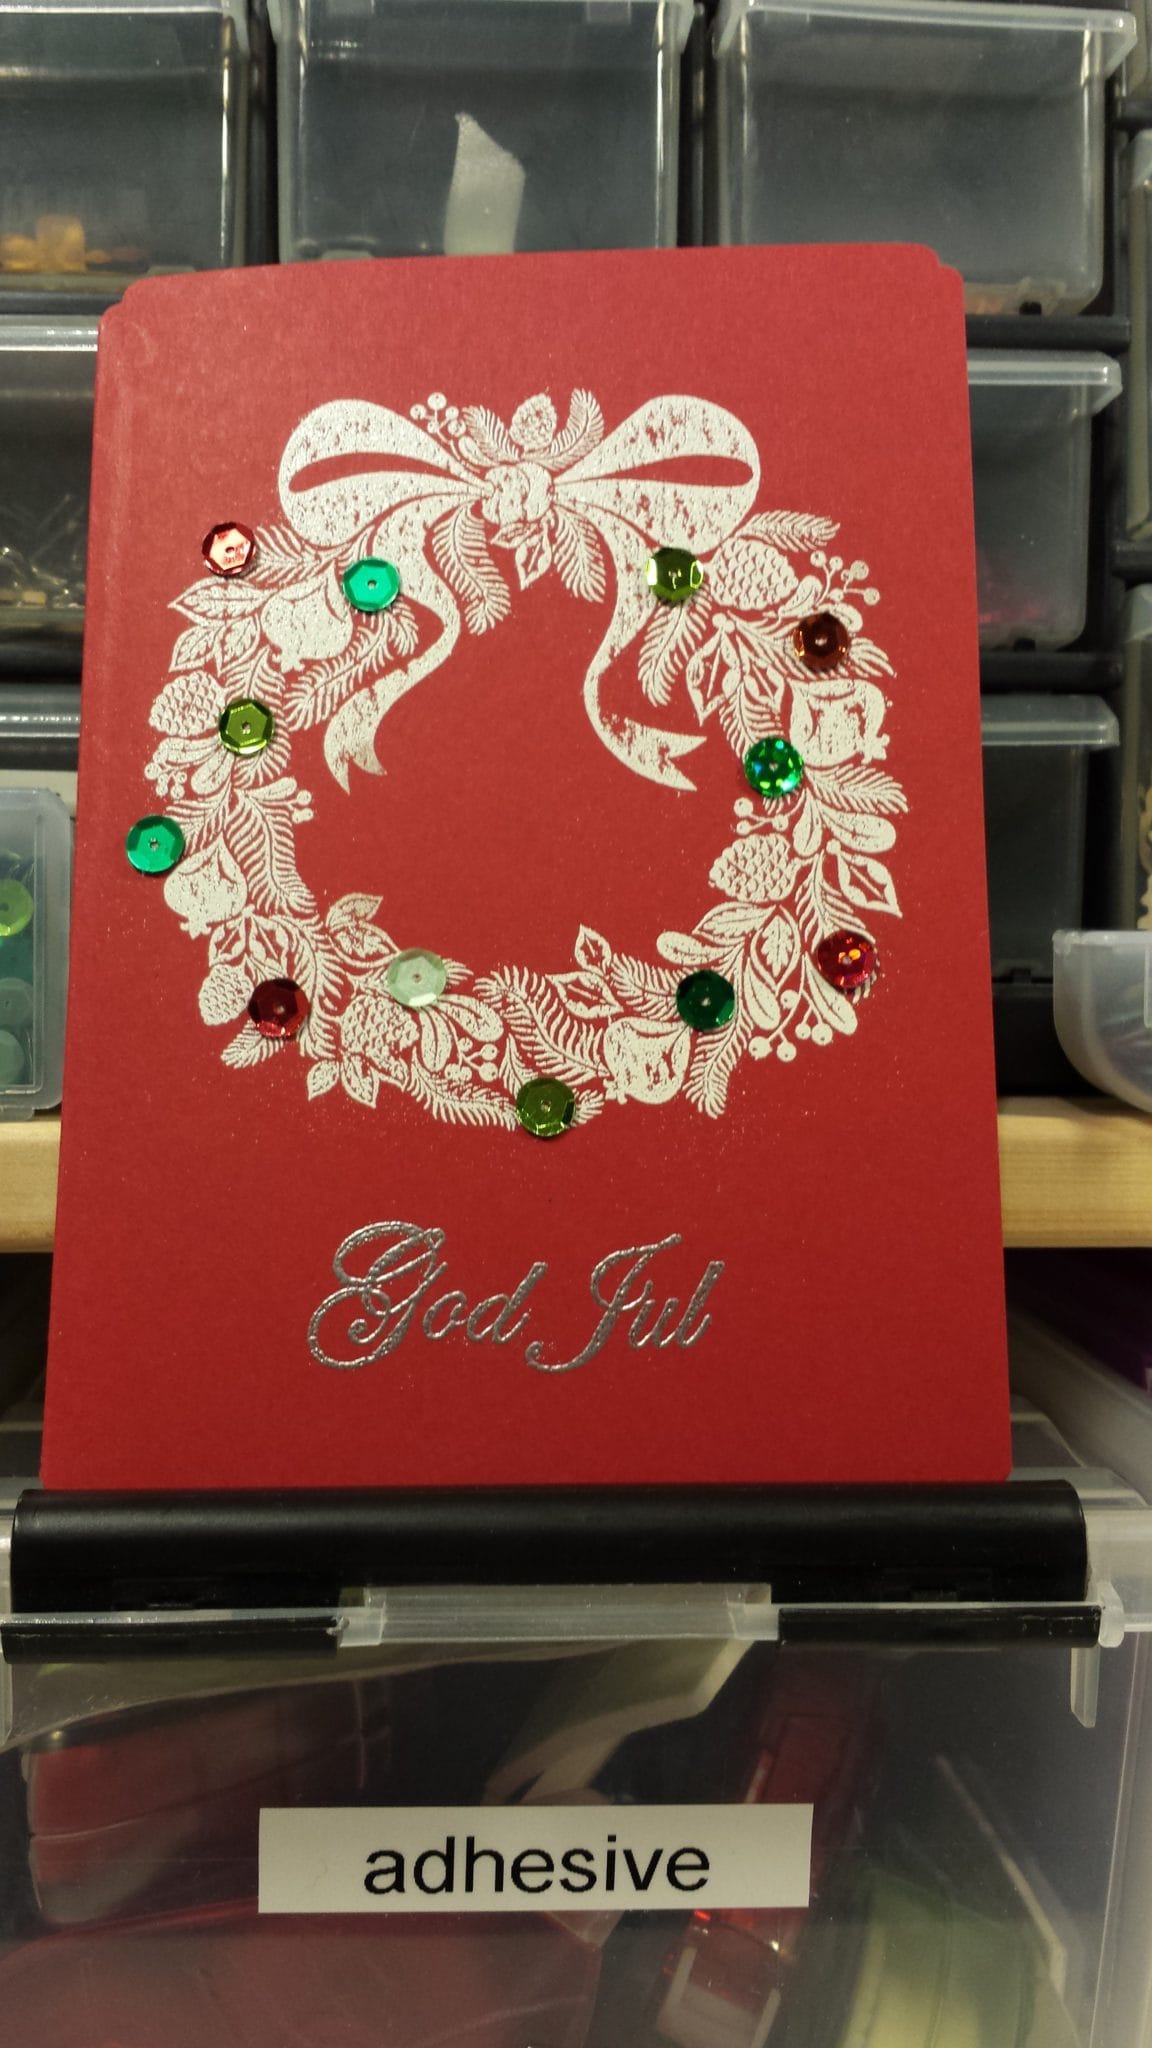
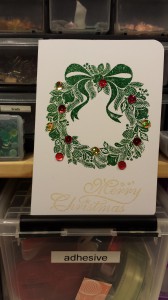
So here are the cards, some of them are made inspired by challenges which I will name and link below each image. I might edit and update this post tomorrow to make it a bit more interesting and informative.
Sorry for the terrible lightning, the sun sets so damn early this time of the year.
 |  Mojo Monday #323 |
| 
|
 | 
|
|  |
 |  |
|  |
 | 
|
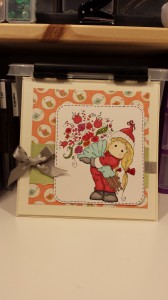
A friend of mine asked me to make her a birthday card for a friend and here’s what she got!

I used paper from first edition paper pads, I’ll have to look up the names later on. The pink paper is sprayed with mists, pink and pearl. The stamp is from Kenny K and was colored with promarkers, flexmarkers and stickles.

So yesterday we went to our aunt to celebrate Easter with the family and to celebrate her youngest daughter who turns 14 on Tuesday.
My two youngest cousins were there too and I made them Easter bags with some chocolate and soft bubble bottles, I’m trying not to give them too much candy as their parents try to keep them away from sugar. I gave them handmade bags last year too with a small treasure hunting quest for the older boy. This year I made a trail with chocolate eggs for them to follow. They were super happy!
The bags are something I got from some kits and they’ve been lying around for a while now.. happy to get to use them and some other stuff in my stash!
I found some fun challenges to enter with these bags too!
The Ladybug crafts challenge: Anything goes
Alota rubber stamps #103: Springtime
Crafty creations #215: Easter
Magnolialicious challenge: All about spring
I love promarkers: Spring is in the air


A few of the items from my stash: the shaped buttons (helicopter and police car), bubble stickers and a butterfly sticker I found in Berlin at Karstadt I believe.
The buttons were a part of the Christmas calendar I got from my mother last Christmas, they have this ring on the backside which I cut off and that caused the button to fall apart! Glued it all together again and adhered it with some glue dots.


A closeup on the bunny, colored with pro- and flexmarkers. I colored the bow with a darker blue first and added a brighter shade on top, gives a nice touch!

And here is the birthday card for my other cousin who turns 14. Inspired by the Sweet stop sketch #204
So happy I got to use both some alphabet stickers and a few brads from my stash.

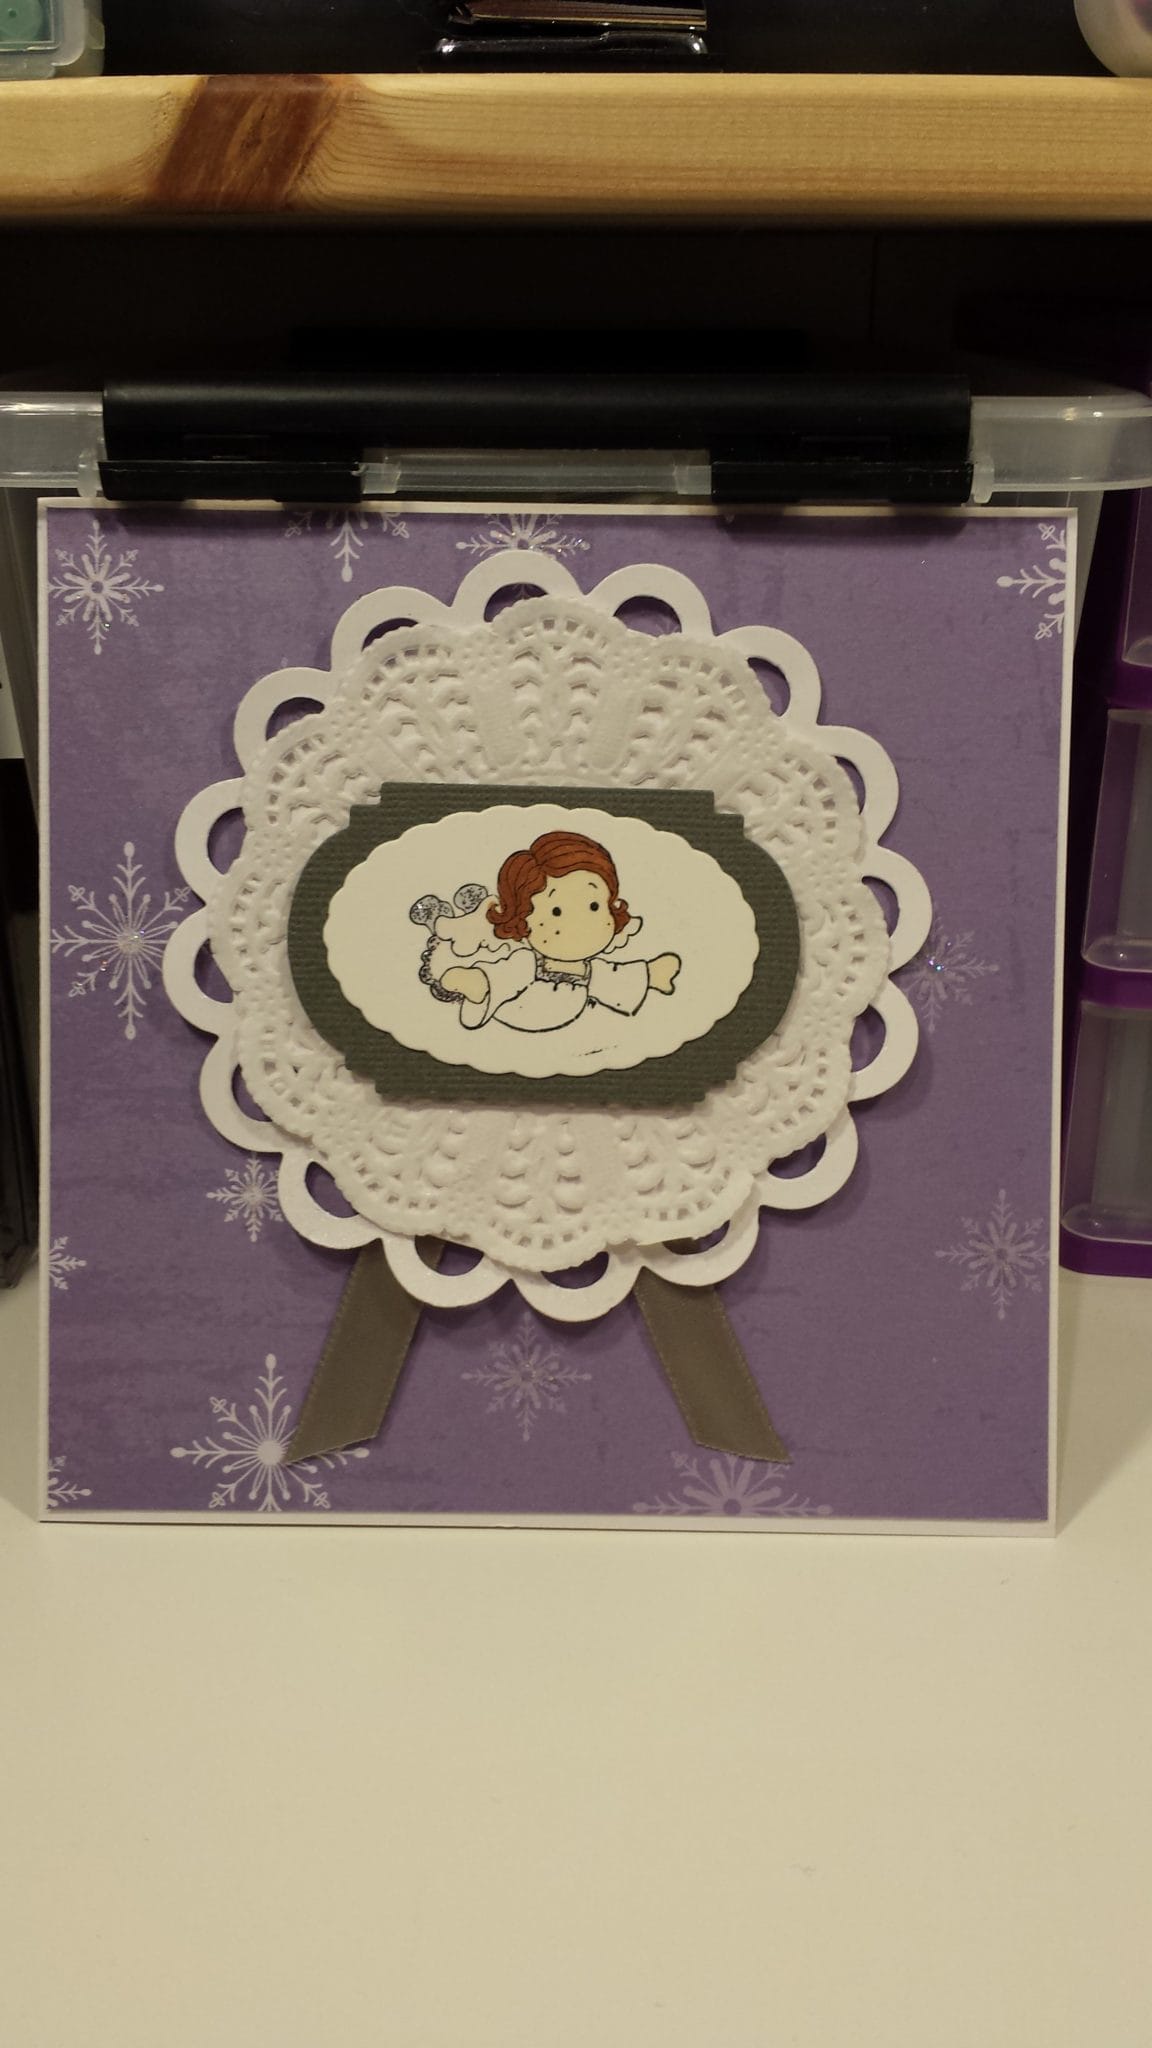
Least but not last I also finished off some cards to go with a few angels my other aunt ordered.

A colleague of mine got a baby a few months ago so I made her a little present for the new born baby boy from us at work. It is a diaper cake made from diapers and a few other useful items such as baby wipes and a toy. I’m a bit late with posting this, it’s been a busy autumn.

One package of diapers!


Some cellophane, ribbon and a card.

Not much more needed for this awesome gift! Come on peeps, make me more babies so I get to give more of these away!
I actually made this one quite some time ago after a visit at my local IKEA store. I fell in love with the OLUNDA picture but I thought it was too expensive to be that doable plus I wanted a black frame instead. So I ended up with a black RIBBA frame instead (and some other stuff of course).
At home I googled for images of butterflies to use as templates for my new project. I arranged them and drew lines around their edges, printed it and cut them out on a white piece of paper.

I didn’t cut them out completely, just around the wings but left them connected to the body.

And finally I arranged the cut outs with some nice colored paper on the back in the frame.

Super simple and very nice! I’m not sure I would do another one in the near future… my hands are soar from all the cutting