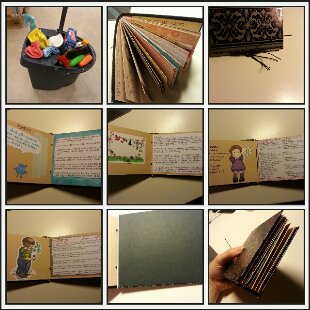
A handmade book

imageLast Friday I started a new project, a present for my cousin who is moving to her first own apartment next week. She wished for a bucket with cleaning stuff. I wasn’t sure about how much she knew about cleaning or about using soft soap and since I was in the mood for crafting I decided to make her a small cleaning guide. Printed plain papers are no fun to look at or learn from, although the stain removal guide was so long and useful I just printed it out so she can tape it on the inside of the cleaning closet door. I was pondering about whether to make cards with tips and instructions and or collect them in an album or book. I had a few ring albums lying around but none seemed to fit for this purpose, so I got the idea of binding a book myself!
Not completely clueless I googled guides for binding books, I honestly had no idea there are so many different methods and ways to bind a book. On pinterest I found a guide I liked so I just started cutting the pages and bound them together two and two.
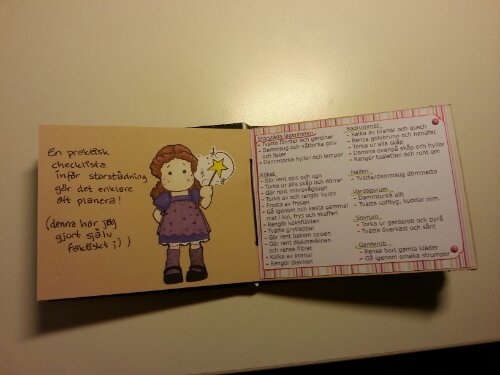
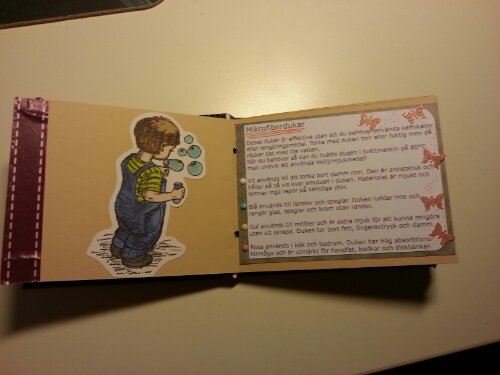
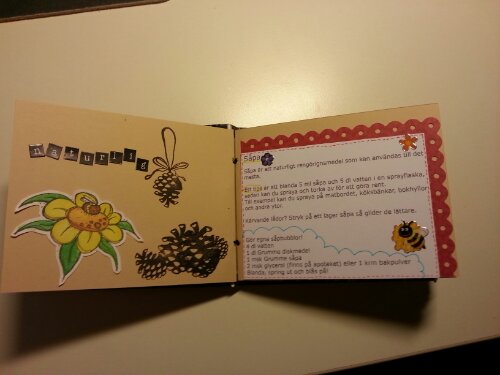
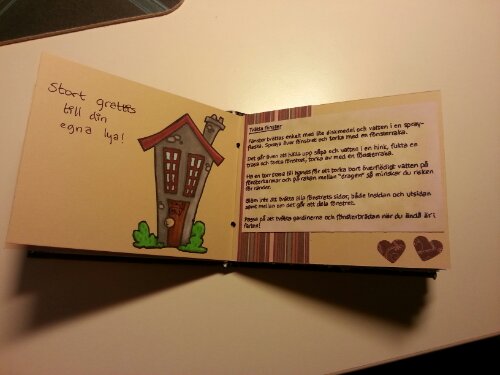
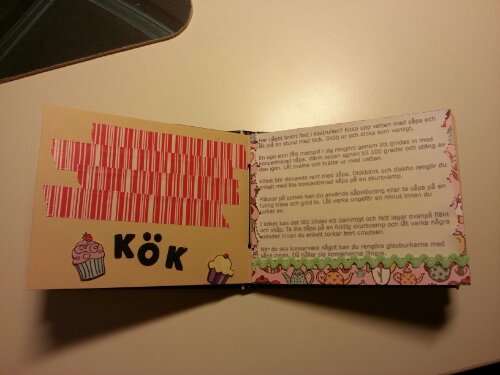
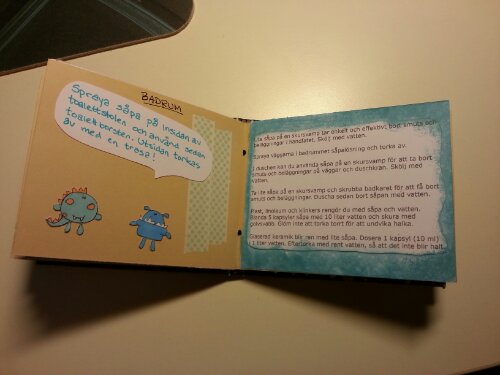
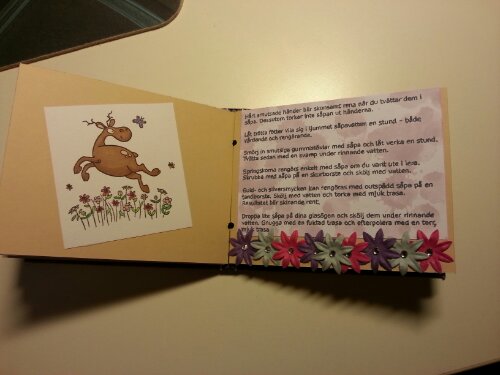
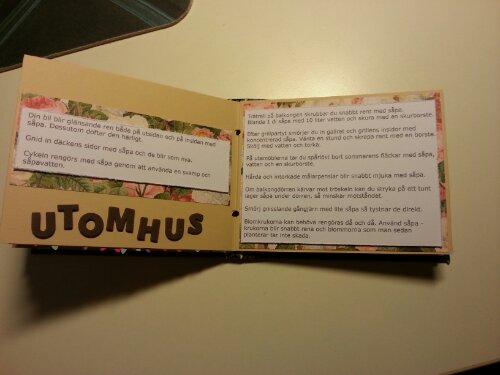
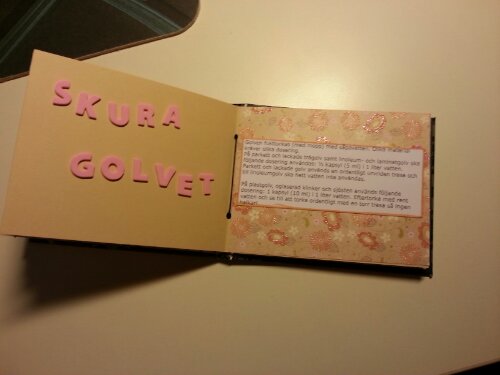
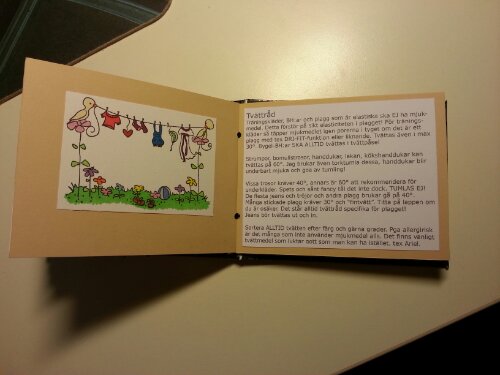
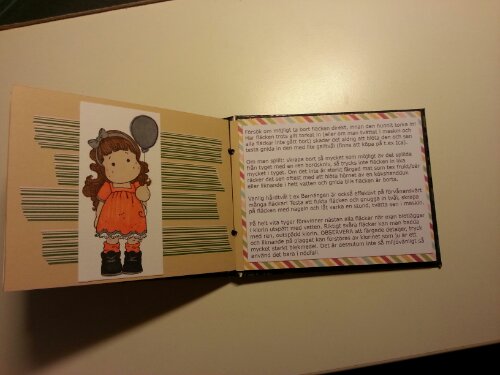
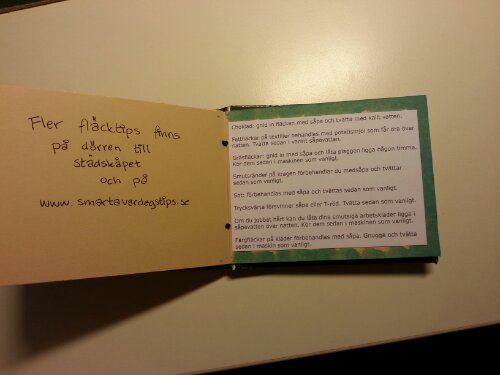
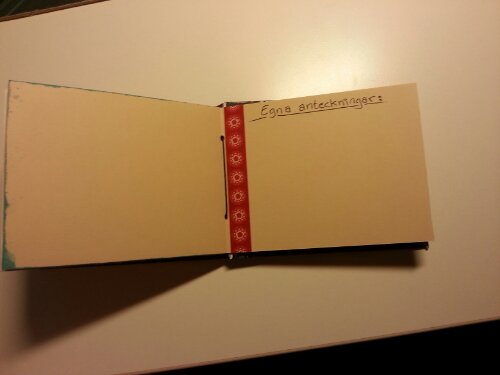
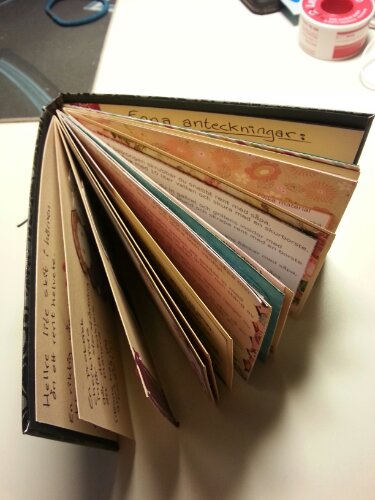
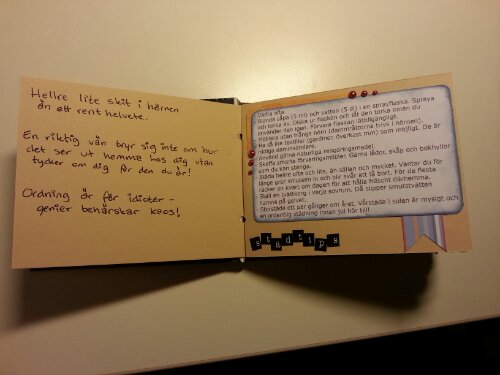
I found an old box and cut out the covers, used a piece of paper from the lovely black currant collection, glued it on the cover pieces and started working on filling the pages with instructions and tips for how to clean and use soap. I also added a few tips for washing clothes. To spice it up a bit I added some decorations and stamped figures which I also colored.
All dried up I bound everything together and looked at it , ridiculously happy with the result, mostly the cover. It just looks fab!
Best of all is that I only used stuff in ny stash! I even got to use stuff I’ve had in my stash for quite some time now, such as the beige paper used for the pages, all the pretty washi tape I love to collect (I’d collect anything to be honest) and a few of the mini brads I bought in the early days. Hurray!


Here are the pages in the book:
image

image

image

image

image

image

image

image

image

image

image

image

image

image

image

Another IKEA hack, Tolsby

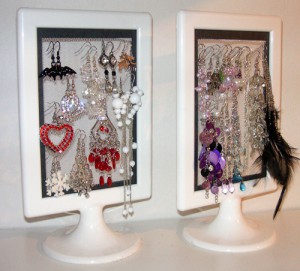
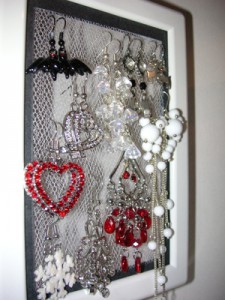
Unfortunately I didn’t come up with this one myself, I got inspired by this post on IKEAhackers and I just had to make myself a few for all my earrings. Before the hack was born I used one of those paper stands for mail and such, similar to IKEA’s DOKUMENT webbed surface. Perfect for earrings with hooks!

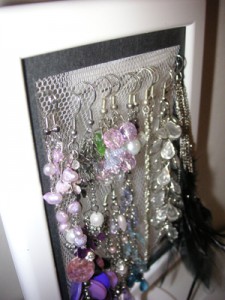
I got bored and thought this would look nicer, unfortunately I had no cross-stitch canvas at home, just some tulle and thicker paper. Since the tulle is quite soft and weak it wouldn’t stand in the picture frame with any heavier earrings on so I created some sort of frame with my thick paper. I had to use both double-sided tape and super glue to make sure it would hold up. I even put a few staples around the edges, I don’t trust glue that much ;)

As you can see, my earrings are quite heavy and the tulle does hang down a tiny bit on the left image.


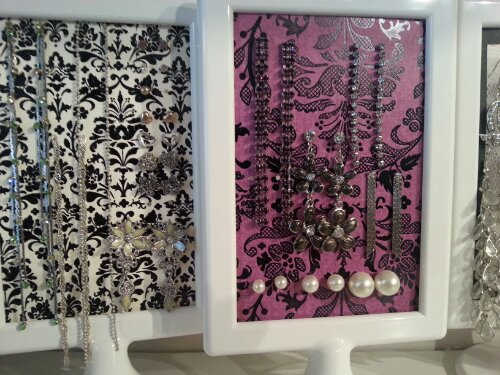
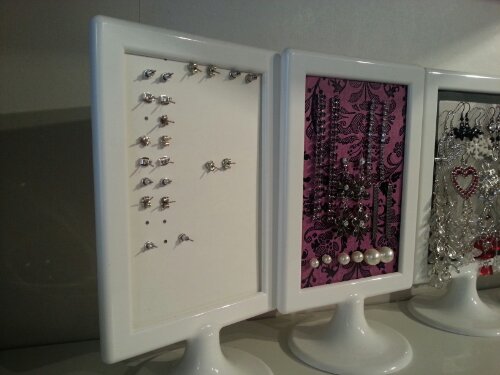
After putting my earrings up I thought I needed something for my pin earrings so I took some of my favorite paper (both are from DCWV’s collection Black Currant) and punched small holes to stick the earrings into and close on the back side.

image  image

If I ever get bored of the paper in the frames its so easy to replace. I’m sure it works with paper for the hook earrings as well.. maybe one day ;)
It does bother me a bit that the pattern is very bold, it does look quite messy but I just love the purple one, it looks great with the white frame too!

Theme 24: Flowers (on a lamp)

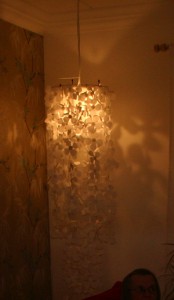
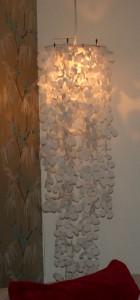
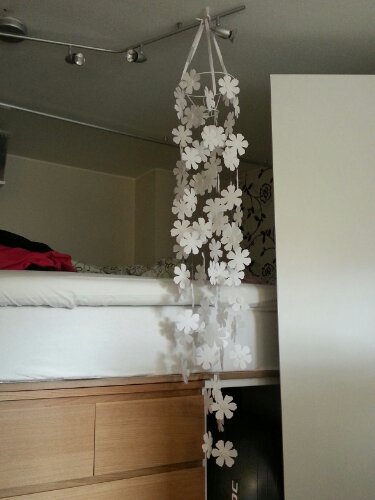
 This project has been in my head for quite a few years now. I saw this outstanding lamp at my aunts house, I can’t even remember when it was, it’s THAT long ago! She got inspired by this beautiful creation but thought it was a bit expensive (and creatable). I might have a picture of her lamp somewhere… Yes! And now my lamp feels scrawny, have to feed it with a few more strings of flowers, or well, my lampshade is a bit smaller so it might look weird. I will look into it when I actually have space for it. Until then, here’s a short DIY for you (and the pics from my aunt’s version, I love the light it gives)!
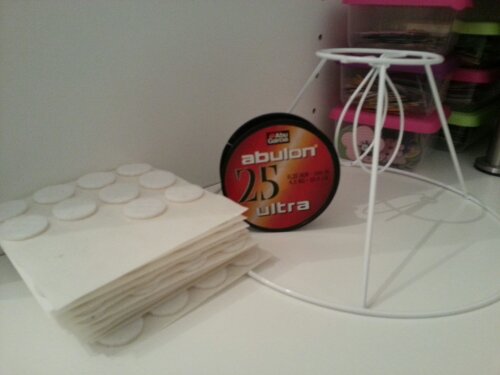
What you need:

  • imagea lampshade, with or without fabric
  • vlieseline, same amount as the fabric you choose. Not sure how much I used to be honest but the size of your flowers matters so just go for something and purchase more if needed
  • cotton fabric of any desired color, white might look best if you only can find white vlieseline
  • a few meters of fishing line or any other discrete and strong thread available
  • floor protectors, I went to IKEA and got a few packages of FIXA. Floor protectors anyone?
  • a pair of sharp scissors. You will cut a lot unless you have some other nifty way to cut out the flowers (I was clever enough to use my Sizzix Big Shot, I honestly think this project still would be unfinished without it)
  • some sort of flower template unless you want to draw every single one by hand, might be fun too!
  • iron and an ironing board

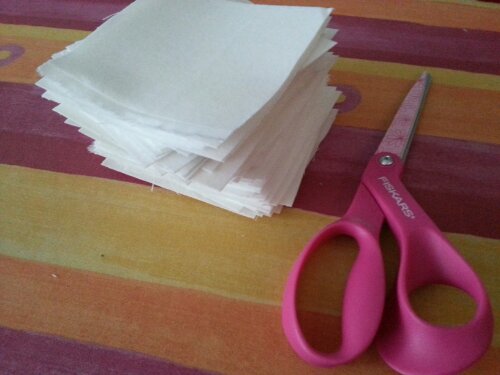
imageNot sure if my methods are the best for this, but since I was going to cut the flowers with my Big Shot I sort of had to cut pieces of the fabric, the die I got included four different styles of flowers which I didn’t want so this step might be unnecessary for some.
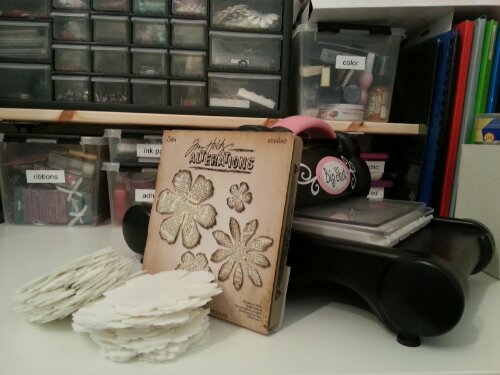
Anyhow, start of by ironing the vlieseline on the fabric and make sure it’s stuck. I kept my iron on a lower temperature while cutting out the squares just in case I missed a spot or two.
I cut out a template flower as a help for measuring out how large squares I needed. I ended up with 99 pieces. So happy I decided not to cut them out by hand.
Next I used my Big Shot with a Tim Holtz die named Tattered Florals. It went surprisingly well cutting fabric with the die, I was a bit unsure (first time I used the Big Shot too, everything was scary).
image
With all flowers cut out the next step is the fun part, assembling everything somehow!
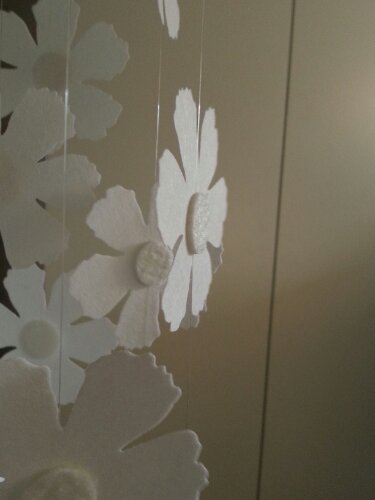
I started with tying a few pieces (quite long ones, wasn’t sure how long I wanted my lamp to be) of the fishing line on the lamp shade and then I simply took one flower and one floor protector and put the line between. The glue on the floor protectors impressed me, had to be a bit careful when putting it all together, I’m a perfectionist so it had to be placed in the middle, or at least somewhat close to it.
Here’s a few pictures of the current result, I do like the scrawniness somewhat. I might add a few smaller flowers perhaps. I have to see what it looks like with a light bulb in.

image   image

I might have chosen smaller flowers to match my tiny lamp shade better. Oh well, there’s always a next time!


Butterfly wall decoration

imageLong time, no posts.. I haven’t created much lately, my inspiration went on a vacation in the beginning of this year and it still hasn’t returned. Maybe next year?

There might be a lack of time as well, the last weeks passed by with me working during the days, working out afterwards and trying to avoid being home alone too much since I’m a comfort/bored & alone eater.
Instead I have filled my spare time with shopping, a few running attempts and lots of rides with my bike. I also did some work to improve my tiny apartment. I will post something about this later on, right now I’m trying hard not to fall asleep. I’m completely exhausted from this evening’s physical activities (outdoor training with focus on legs)!

Last Sunday we got together to craft again, me, Malin and Jennie. Awesome as usual (especially the food, oh it was delicious!)
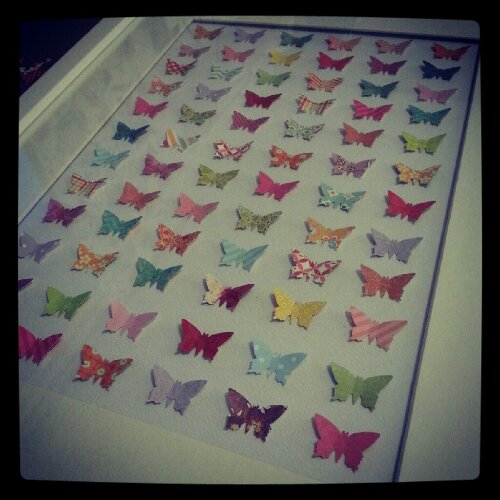
They both managed to scrap a lot (especially Malin, the turbo-scrapper!) and I managed to cut out 98 flowers and 80 butterflies. Yay for doing the same thing over and over again, yaay..  Anyway, inspired by a pin on pinterest, I made this butterfly picture and I must admit that I am very pleased about how it turned out. I think about summer when I look at it, and the best part is, I got to use Jennies stash (and my own of course).

By the way, go read about her new project:

I am considering accepting this challenge, I just have to.. uhm.. think about it again and, ehm.. extend my stash with stuff I can live without.. kinda.. but I do love the mustaches so.. I think I have to join her!