Batman birthday card

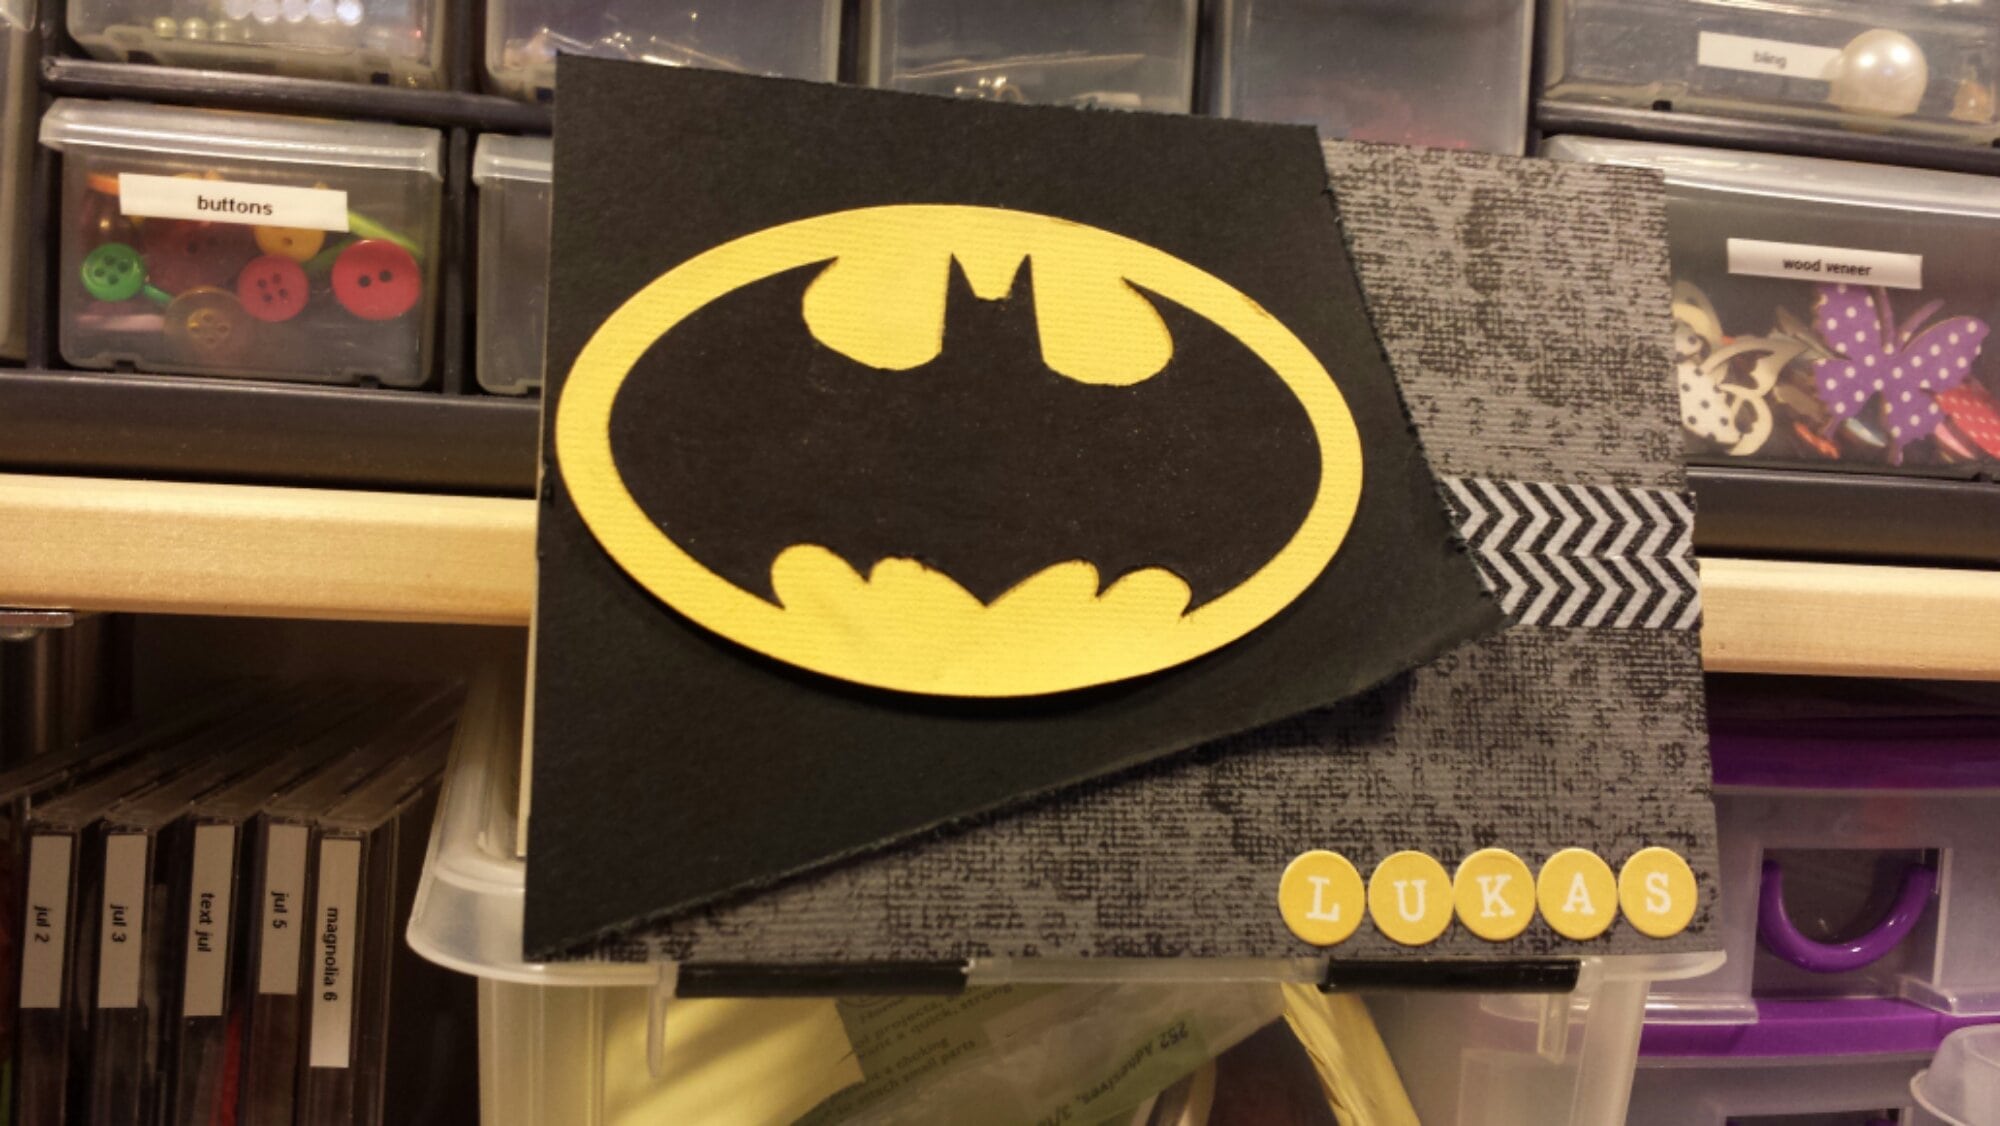
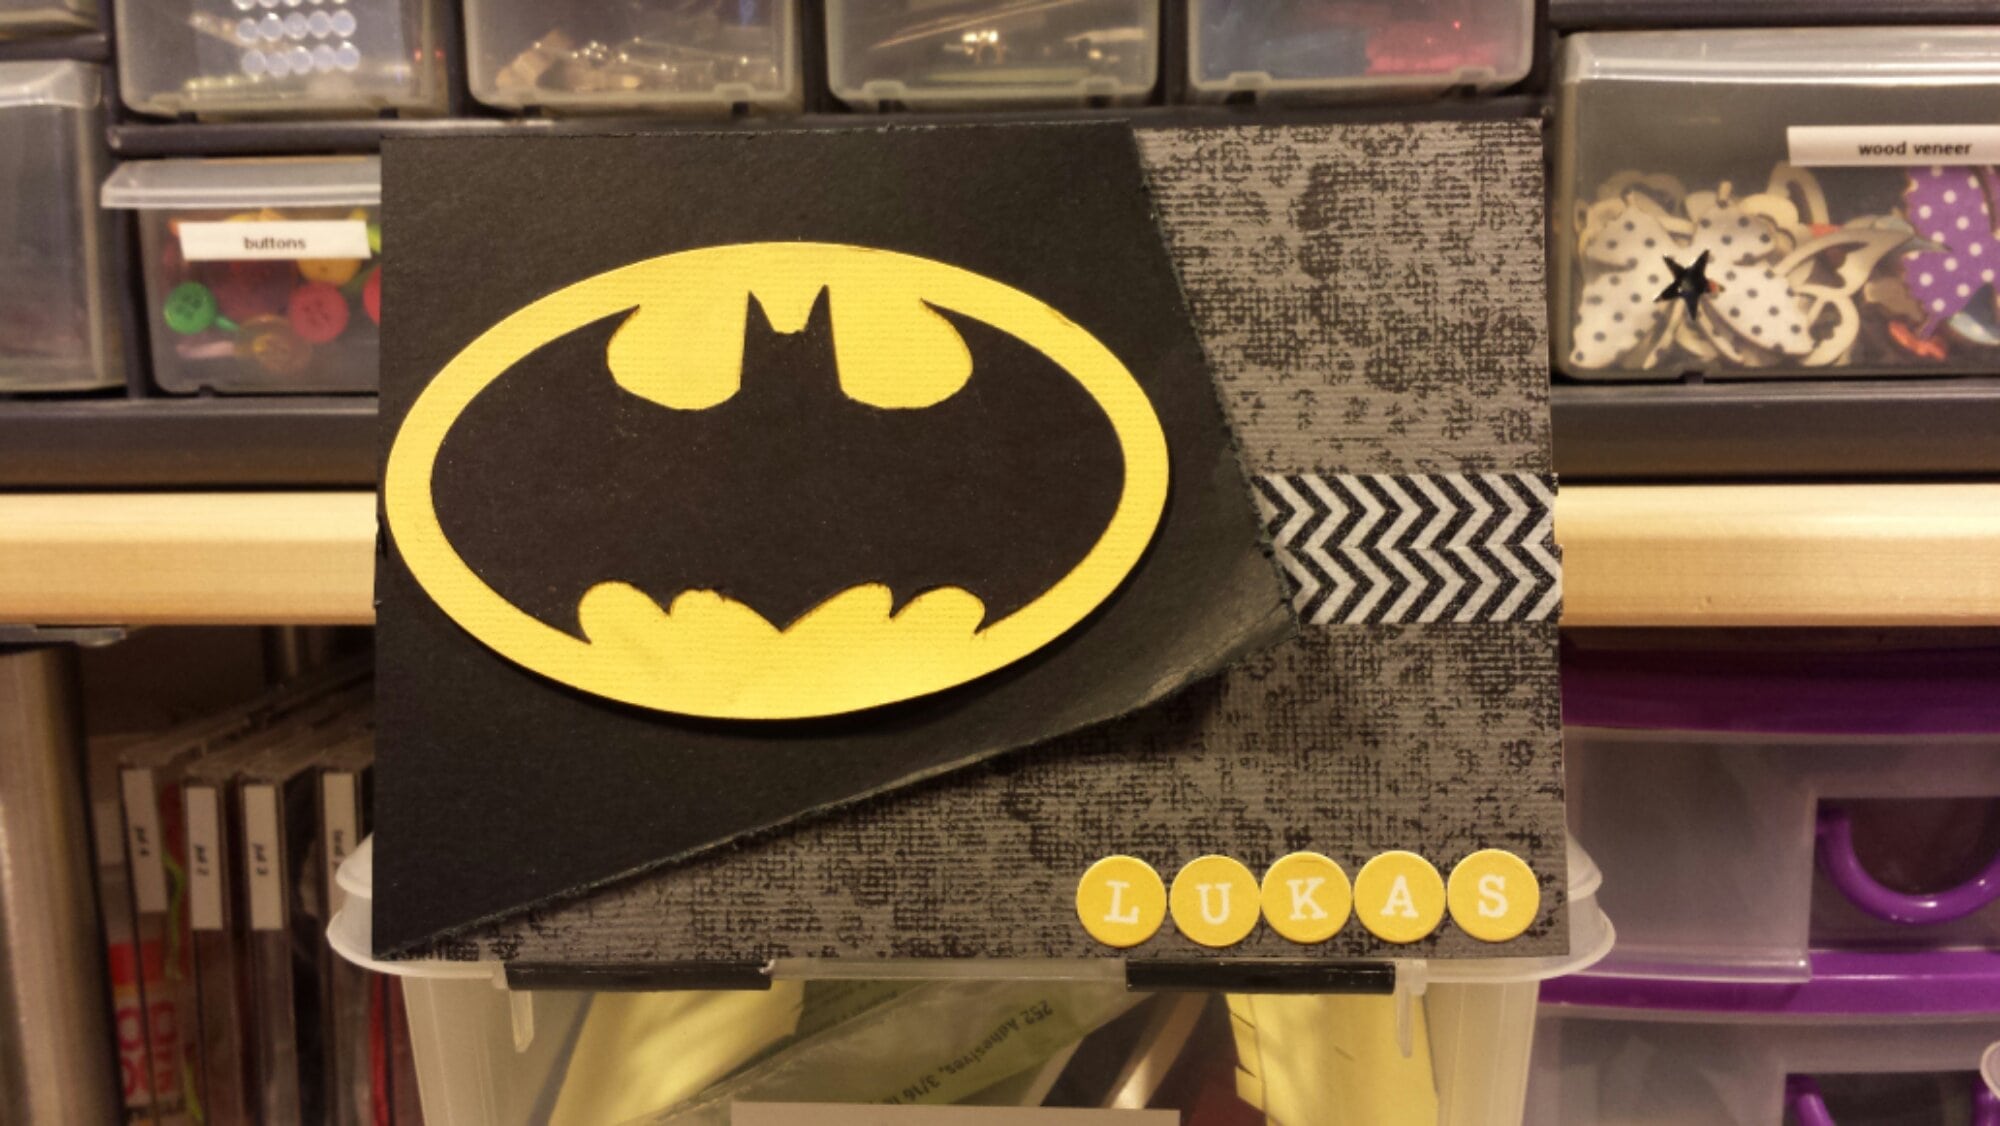
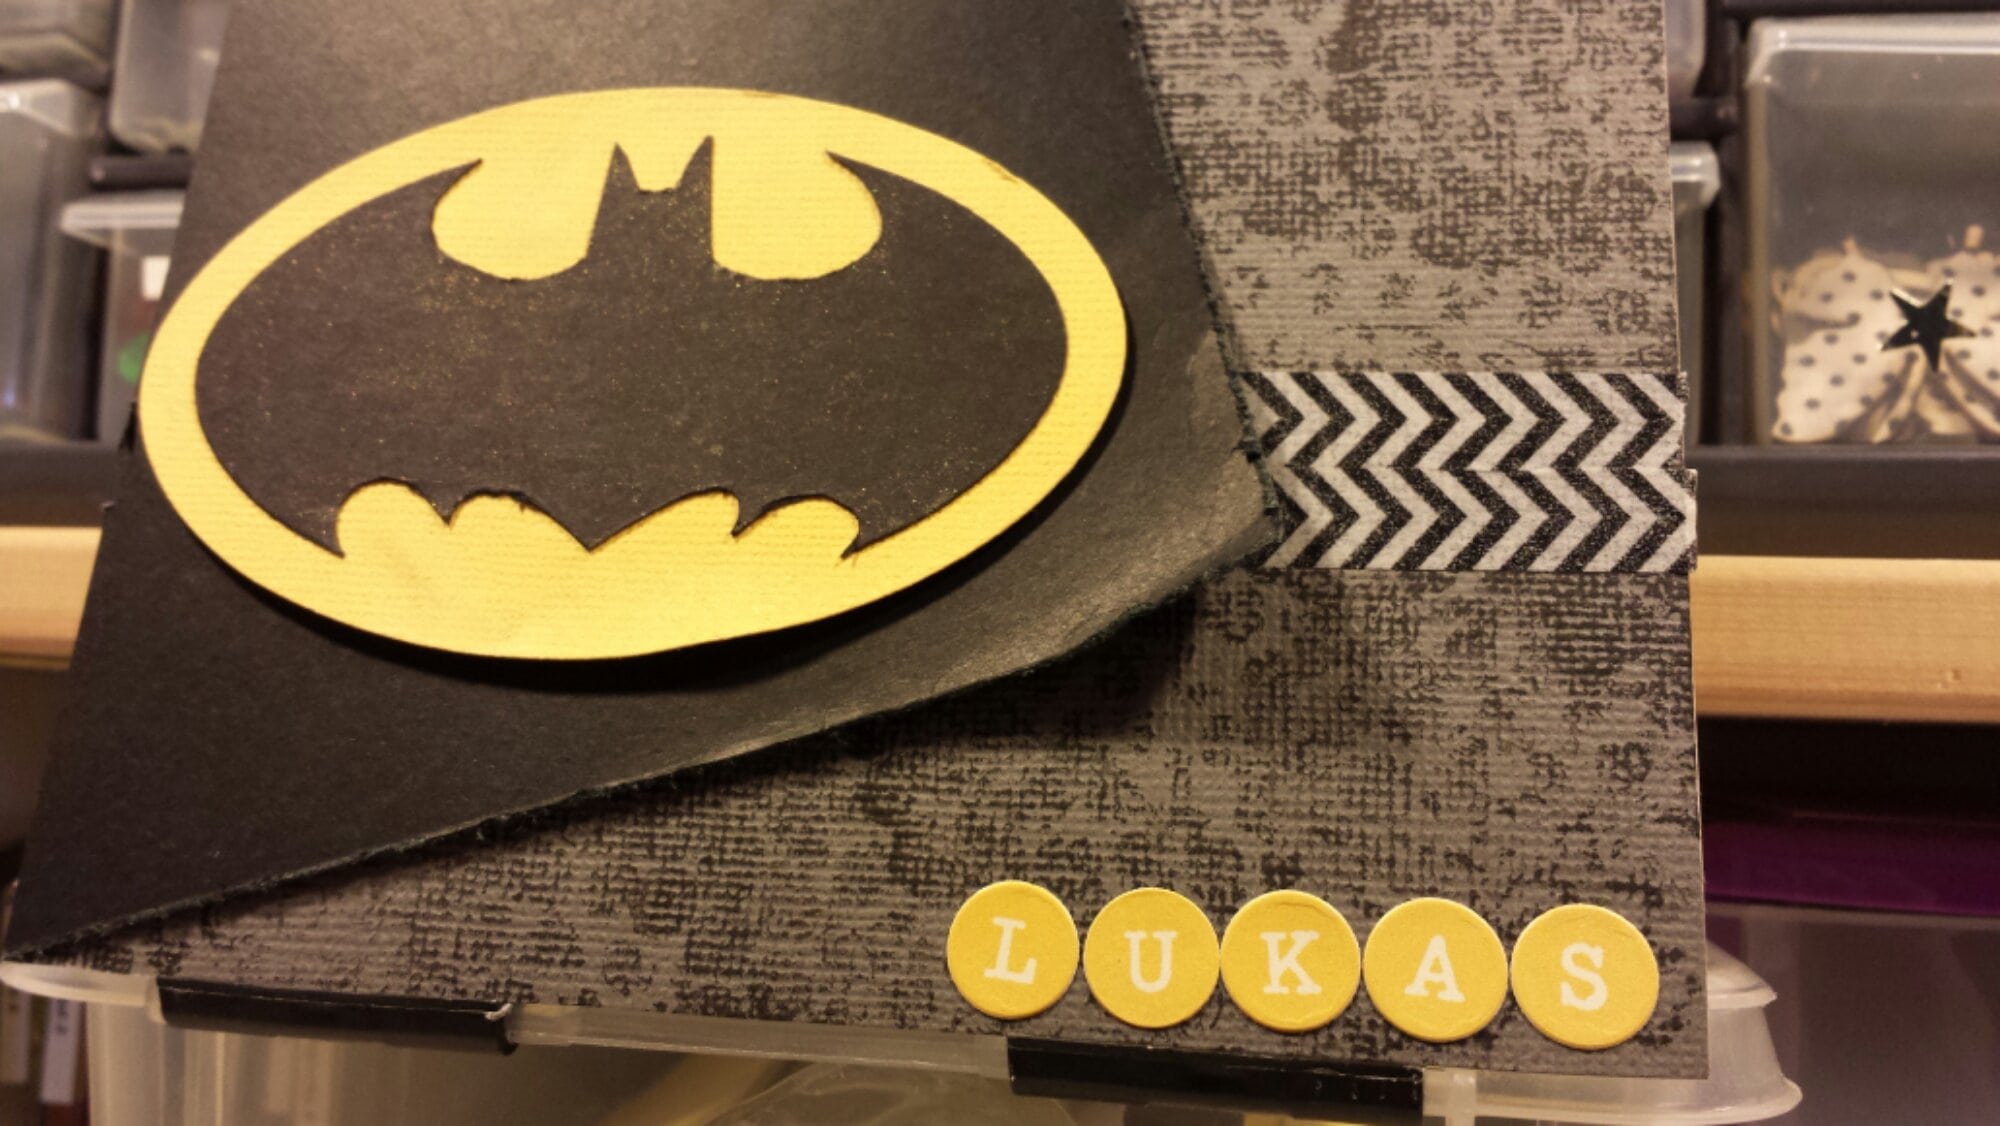
My youngest cousin turns 3 today and he’s a big batman fan so I decided to make him a themed card
image

I used my sizzix to cut out two oval shapes, one yellow and one black. Then I cut out the bat by hand and adhered it on the yellow piece. I stamped some dots on the gray background and smudged some gold glimmer mist over the badge to make it shine.

I used this week’s sketch from Freshly made sketches and the pink gem challenge #111; for the boys

image

image

A colorful birthday card

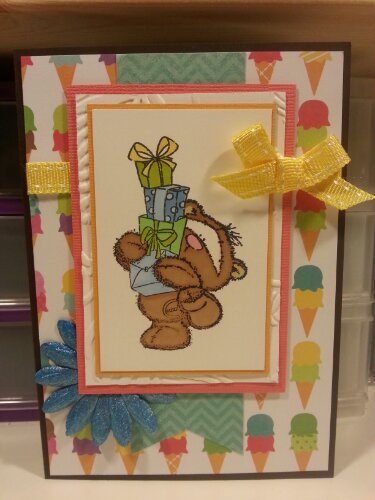
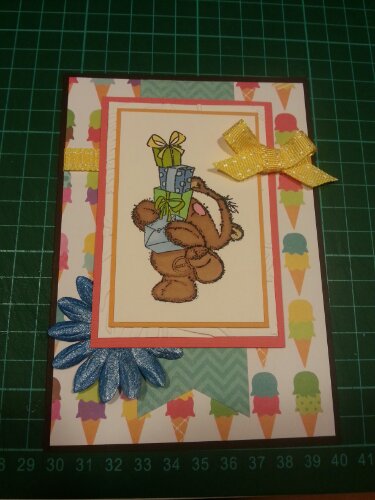
I made another birthday card today, inspired by this week mojo monday challenge #299

I looked through my paper stash and found this icecream patterned paper from echo park which I’ve owned for years and never used. It was time!

I wanted the card to look like summer so I went for bright and happy colors, I could have used brighter/lighter colors on the gifts but I wanted it to bring out the blue and green colors from the background since the other details were pink, orange and yellow. I colored the flower with my dylusion spray london blue and added some pearl mist to lighten up the color a bit, and to add some shine of course! I might add some stickles to the stamp, I haven’t really decided yet.

The yellow ribbon is another thing that has been lying in my stash for ages, I’m not really a fan of yellow but I’m working on it on all levels, just got myself a yellow summer dress!

image

image

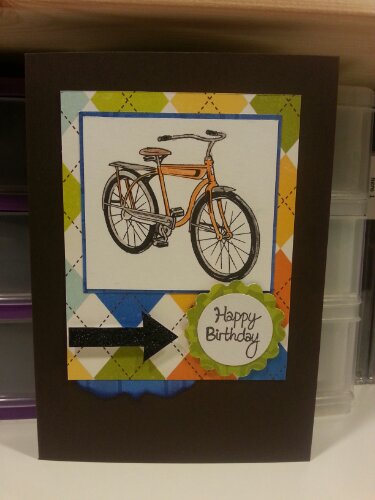
A birthday card

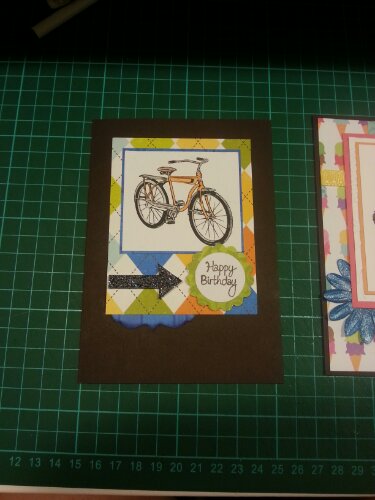
I always make my masculine cards very dark I’ve noticed, not sure why. I guess my next challenge will be to make a bright masculine card, hehe. I made this for my stepfather but I might make a new one with another theme. Now I have one as a backup if I don’t get the time to make him a second card.

I was inspired by this week’s Fab Friday sketch! I went for some matching colors from  a few of my bo bunny papers I’ve sliced into 6×6’s. I added some gloss to the bike but it doesn’t show properly on the image below, and I used some stickles on the arrow to make the card a bit more fun. I had a hard time choosing the color of the card base.. white, grey or brown? I thought the brown brought the colors to life more than the white base, the grey one just made the card very meh.

The stamp is colored with pencils! That was a loooong long time ago and the only reason is me being lazy. I stamped the bike on a paper that bleed and I was too lazy to redo it on a proper piece of paper :-)

I did another rookie mistake and assembled the card before I had the sentiment stamped so I stamped on the card when almost finished! First I was going to put his age in the circle but I realized that I’ve done that for the last 10 birthday cards so I had to rethink.

image

 
image

This weekend’s crafting

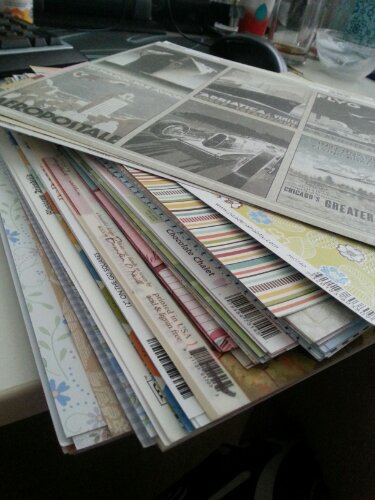
I recently purchased a new cutting tool, a guillotine cutter from Tonic Studios and I haven’t really used it yet until last Friday when I decided to cut my 12×12 papers into 6×6 instead. I never make any layouts, it’s just cards and other smaller projects and I very rarely use 12 inch papers for that, it kind of scares me to cut a tiny piece from one of them.
I started by sorting out all the simple patterned papers and those with smaller images that were meant to be cut out (I suppose?). This pile is like 1/3 of my collection, those I kept are more basic paper, great for card bases and backgrounds. I found no need to cut these too.

image

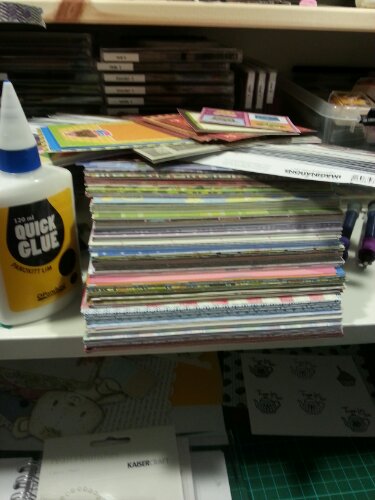
Here’s the pile after my cutting spree (I had a few copies of some of the papers which I kept in original size among a few weird patterned ones)

This almost doubled my existing collection of 6×6 and I realized I need a few projects badly.

image

I managed to make two cards this weekend and I got to use a few of my newly cut 12 inch papers and other stuff in my stash, a few new ones I got from a sell out. Awesome!

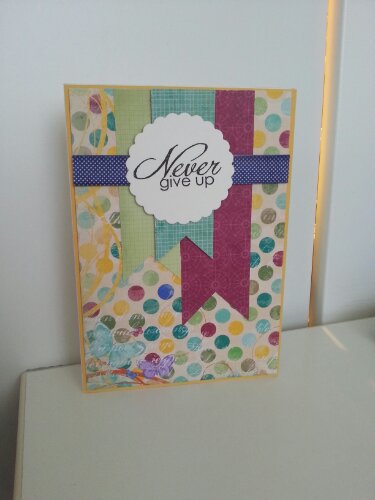
I made this card inspired by this week’s Mojo Monday challenge #291

image

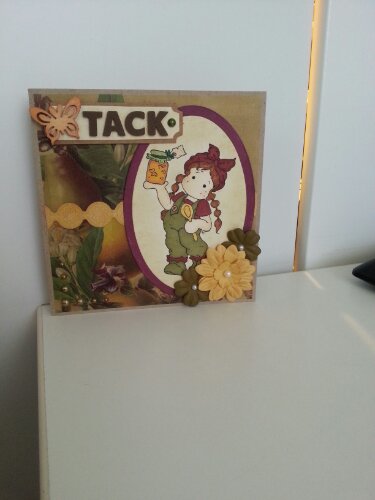
This morning I made another card inspired by one of my cut papers, it’s a transparent/vellum like paper with some flowers and fruit and I got to think of my new magnolia stamps.

I got to use one of my new prima flowers and wooden embellishments. I also used another piece of one of the border stickers I purchased. I’m such a mindless shopper!

I made the card for the current Magnolia challenge which was to use a Magnolia stamp and vellum, perfect for my rediscovered paper!

image

60-70s birthday party, decorations and more

My mother turned 50 about a week ago and threw a 60’s/70’s themed party. She encouraged her guests to wear something reminiscent of the 60’s or 70’s, a hard task for someone who was born in the middle of the 80’s if you ask me.

I spent hours and hours googling, asking around, googling some more and collecting inspiration from everywhere I could find it. I watched movies, searched for celebrities from that era and watched a documentary about Abba. I visited a bunch of stores to see what they had to offer (I don’t like second hand items from unknown people so I didn’t visit any stores of that kind, silly, I know). Unfortunately the current trends seems to be too much 80’s, might have worked if I aimed for a really late 70’s look. Since I completely missed that you were “allowed” to wear clothes from the 60’s too my focus was a 100% on the 70’s and after a while I decided to go for the disco look. I’m not very fond of the hippie style that ruled both the 60’s and the 70’s. I’d rather go for the trends of the 50’s if any, which I suppose also appeared in the early 60’s.
Anyway, I bought a slightly 60’s/70’s  inspired dress as a backup if my upcoming plans didn’t work out. I started sketching on a suit with tights legs and wide cuts, lots of glitter and shiny materials. After some research I decided to go for a deep halterneck top in a shiny fabric together with my sequin ruffled flared legs (is this even a proper name for them?) and the cherry on top: the afro wig. I had some glasses and bracelets at home and I also happened to have this wide, golden belt and large earrings. It couldn’t get any better than this! The shoes might have been the least 70’s inspired part of my suit but at least they were looking like a combination of sandals, clogs and plateau shoes.
The fabric hunting was also interesting, I happened to find the sequin fabric in a store i Östersund while on a customer visit for work. I was worried that I didn’t buy enough for both flares and a top, so I found a shiny fabric here in Stockholm which was just perfect for what I had in mind! The pattern I used for the top was a combination of two Burda patterns found in two of my magazines I still keep from 2006 and 2007. I used to have a subscription on that magazine for a few years and I still keep all the issues and the random ones I still buy every now and then. One of the patterns was a halterneck top and the other a tank top with a deep neckline, it is a bit big and the fabric quite stretchy but it worked fine for one night.
When I was finished with my clothes for the evening my last challenge was the make up part (soooo happy I bought a wig and didn’t have to think about the hair too) which didn’t go exactly as I planned. Youtube and google told me pastel colors, eyeliner and orange lips were the trends of the 70’s. Lavender eyeshadow, thick cat eyeliner, pale pink lipgloss and fake eyelashes. And of course: glitter and shiny eyeshadow as a highlighter all over the place! It was decent but I was disappointed with the colors. I should have used more eyeshadow to make the color pop but I mostly used the glasses anyway so it doesn’t matter that much.

Right before the party I watched a few dance tutorials on youtube for the John Travolta dance from Saturday night fever and picked up a few funky moves. It was awesome.

Here’s a picture of the outfit for the evening and one where you can see the makeup slightly better.
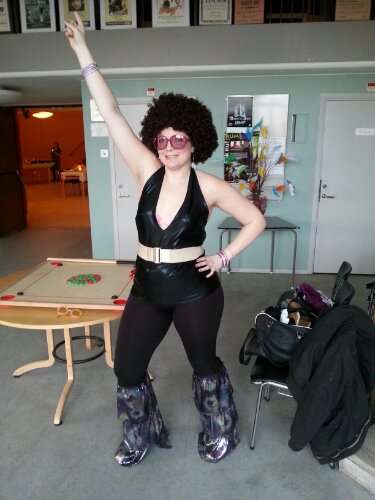
image 308902_4904130516216_596920654_n2

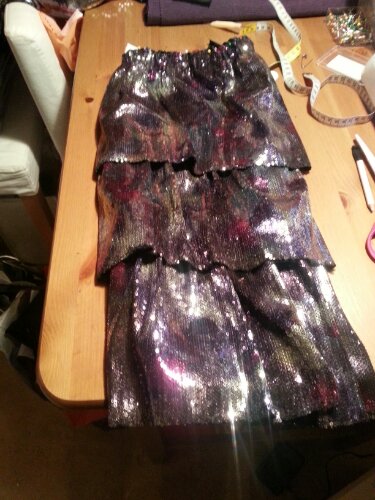
A closer image of my fake flares. I didn’t sew complete pants, just the flares and put some elastics on the top to make them stick right below my knee. I just wore a pair (or two, it was cold) of shiny leggings and put them over my shins.
image

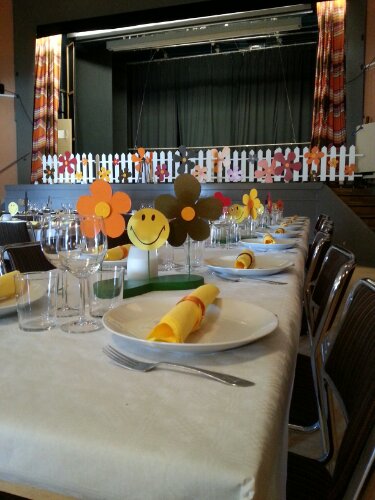
I just have to show you the decorations for the party. My handy mother and husband made the fence with flowers and the table decorations! I helped her cut the smilies with my Big Shot, the other decorations are made of some sort of mdf board.
image

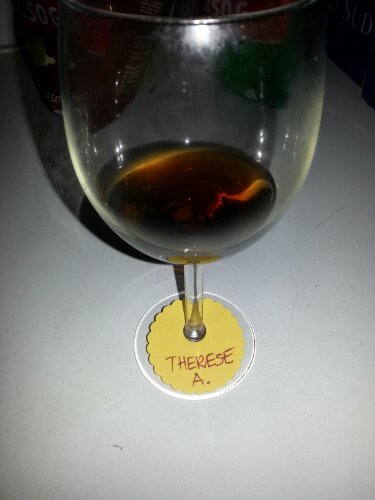
I also cut out these wine glass tags with my Big Shot, both orange and yellow paper and my mother added all the guest’s names on them.
image


Easter celebrations and a birthday

So yesterday we went to our aunt to celebrate Easter with the family and to celebrate her youngest daughter who turns 14 on Tuesday.
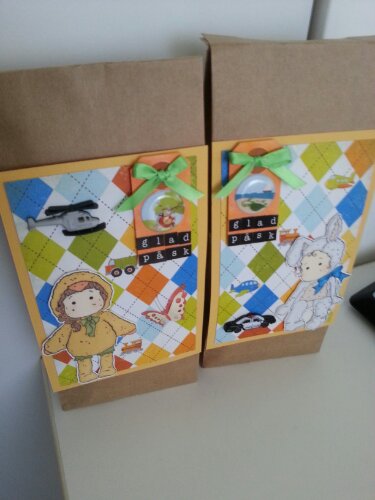
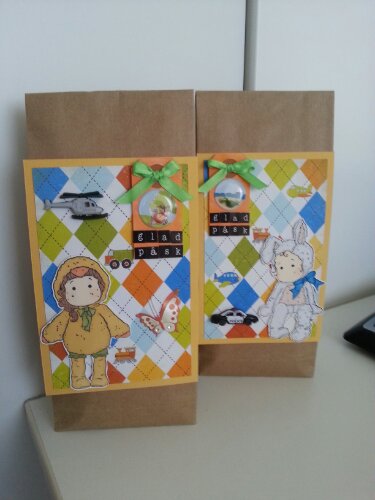
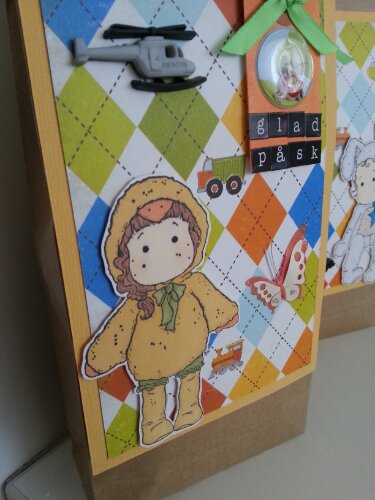
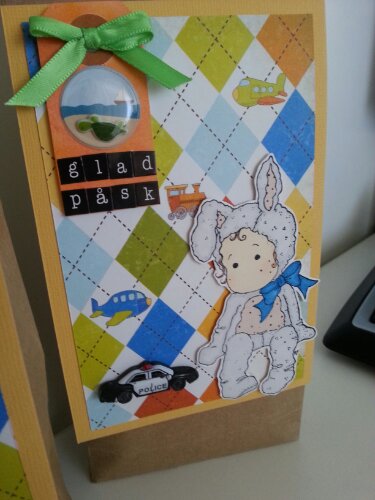
My two youngest cousins were there too and I made them Easter bags with some chocolate and soft bubble bottles, I’m trying not to give them too much candy as their parents try to keep them away from sugar. I gave them handmade bags last year too with a small treasure hunting quest for the older boy. This year I made a trail with chocolate eggs for them to follow. They were super happy!

The bags are something I got from some kits and they’ve been lying around for a while now.. happy to get to use them and some other stuff in my stash!
I found some fun challenges to enter with these bags too!

The Ladybug crafts challenge: Anything goes
Alota rubber stamps #103: Springtime
Crafty creations #215: Easter
Magnolialicious challenge: All about spring
I love promarkers: Spring is in the air

image

image

A few of the items from my stash: the shaped buttons (helicopter and police car), bubble stickers and a butterfly sticker I found in Berlin at Karstadt I believe.
The buttons were a part of the Christmas calendar I got from my mother last Christmas, they have this ring on the backside which I cut off and that caused the button to fall apart! Glued it all together again and adhered it with some glue dots.

image

image

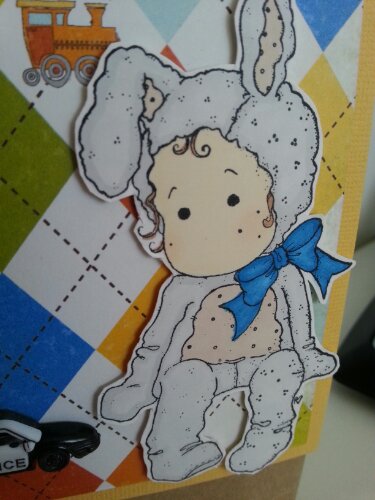
A closeup on the bunny, colored with pro- and flexmarkers. I colored the bow with a darker blue first and added a brighter shade on top, gives a nice touch!

image

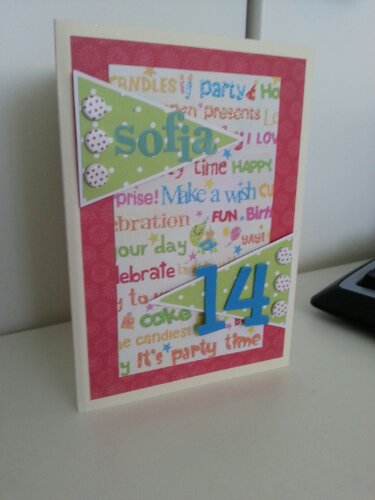
And here is the birthday card for my other cousin who turns 14. Inspired by the Sweet stop sketch #204
So happy I got to use both some alphabet stickers and a few brads from my stash.

image

Least but not last I also finished off some cards to go with a few angels my other aunt ordered.

image